Here is the finale to the Oliver construction series. May your own endeavors prove even more succesful than my own.
I was unable to break the carriage down past this stage, as two screws rusted into place proved near impossible to take out without damaging something. In essence, the two sides are screwed to the center large piece, the bar having been placed before doing so in its respective slot, and the small lever added afterwards to the bottom left of the picture. There is also a piece on the left frame side which goes between the left plate and the rod.
Officially starting, I add the carriage wheels to their housing.
Then I add this odd little bit, and the screws which hold the right frame plate on.
Next, a spring-held bar which connects to the carriage-release knob.
The carriage release knob. Which, I would like to add, is in a superior position and is of great utility. It goes just to the left of the left screw on the above picture, my apologies for forgetting to photograph it in its place.
Next we add whatever the right side release lever activator.
I unscrewd the sides just enough to place the small paper-bail plate, which slides into holes on each frame peice. We now add the front roller assembly. Add the spring plates before placing the assembly in, and be gentle. I accidentally broke one of my springs, though in all fairness it was rusted to heck.
Now the bottom roller, which slides in the back
Now we add the back wheel and some spring plates. The silvered plates go below the previous stages roller-plate, and darker blued metal pieces go above them all, where the screws are then placed through and screwed into the wheel rod.
Not pictured, I add the main paper bail. It screws in, two screws per side. Now we add the paper-release lever on the right side.
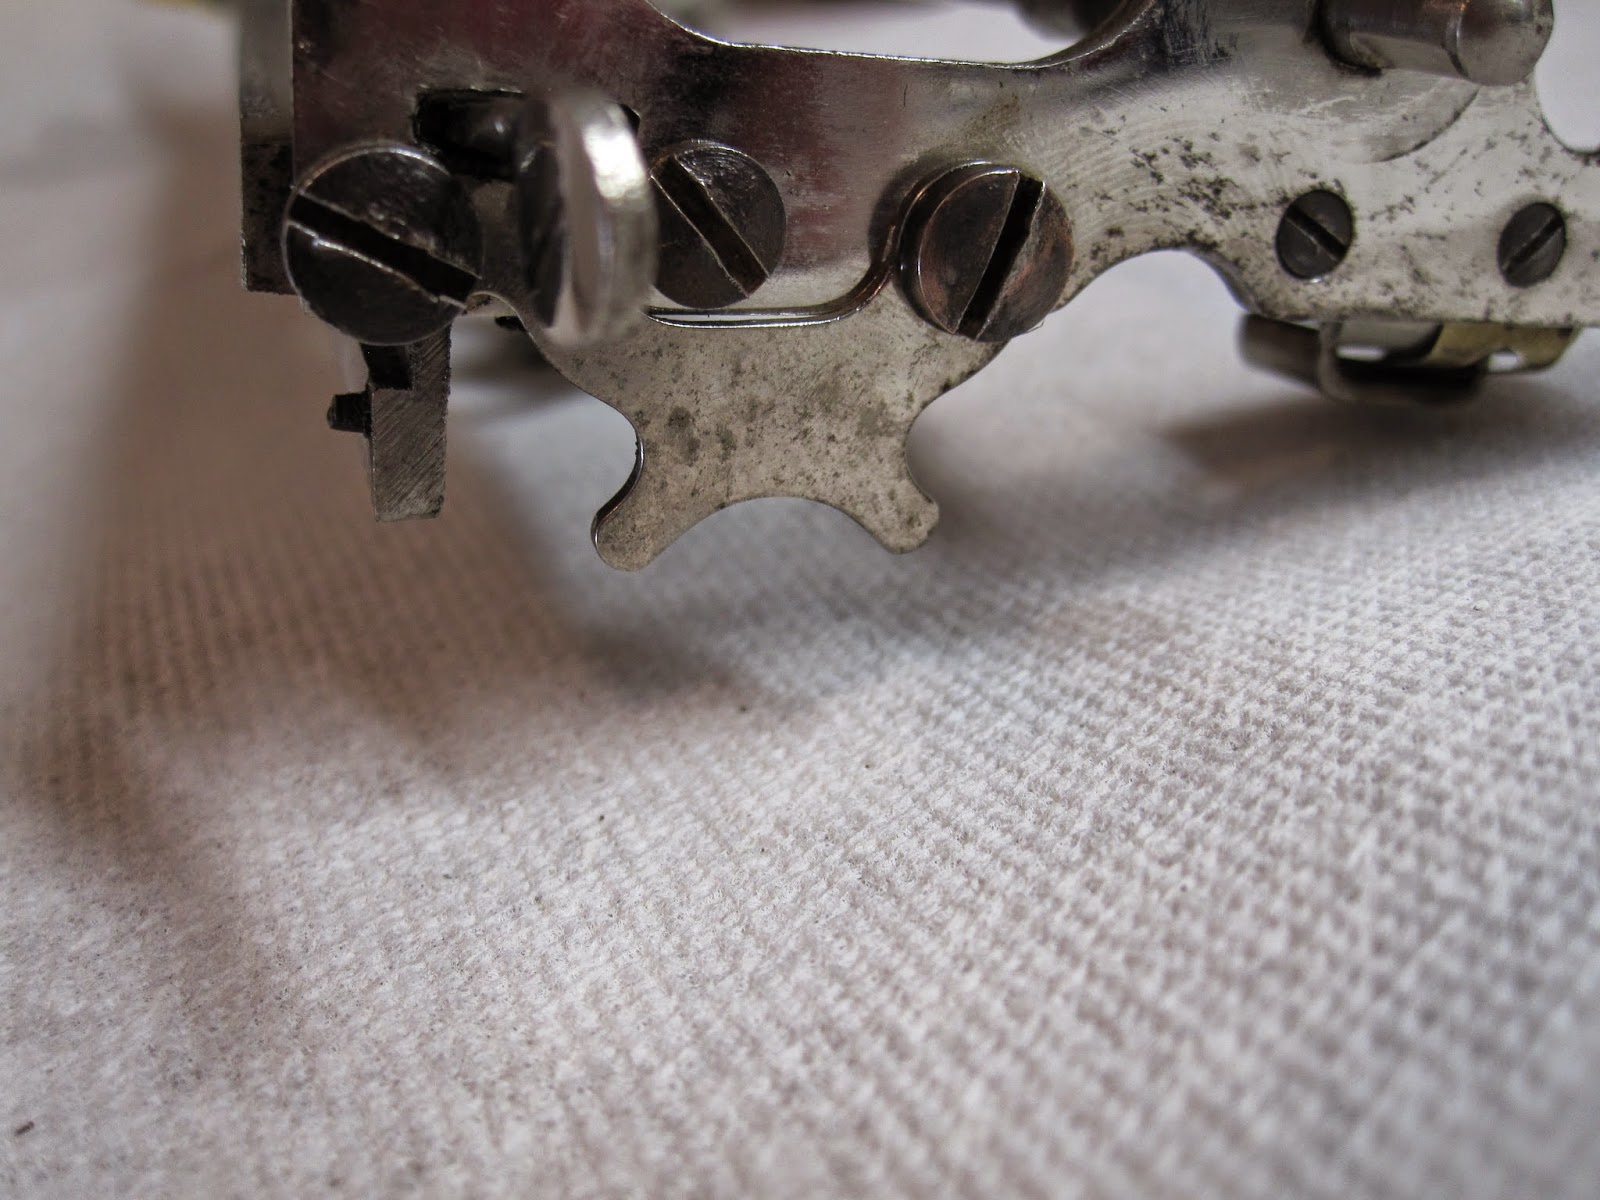
Now the line-advancement catch.
And the left side paper release lever and the lever which is used to allow variable line spacing are now added.
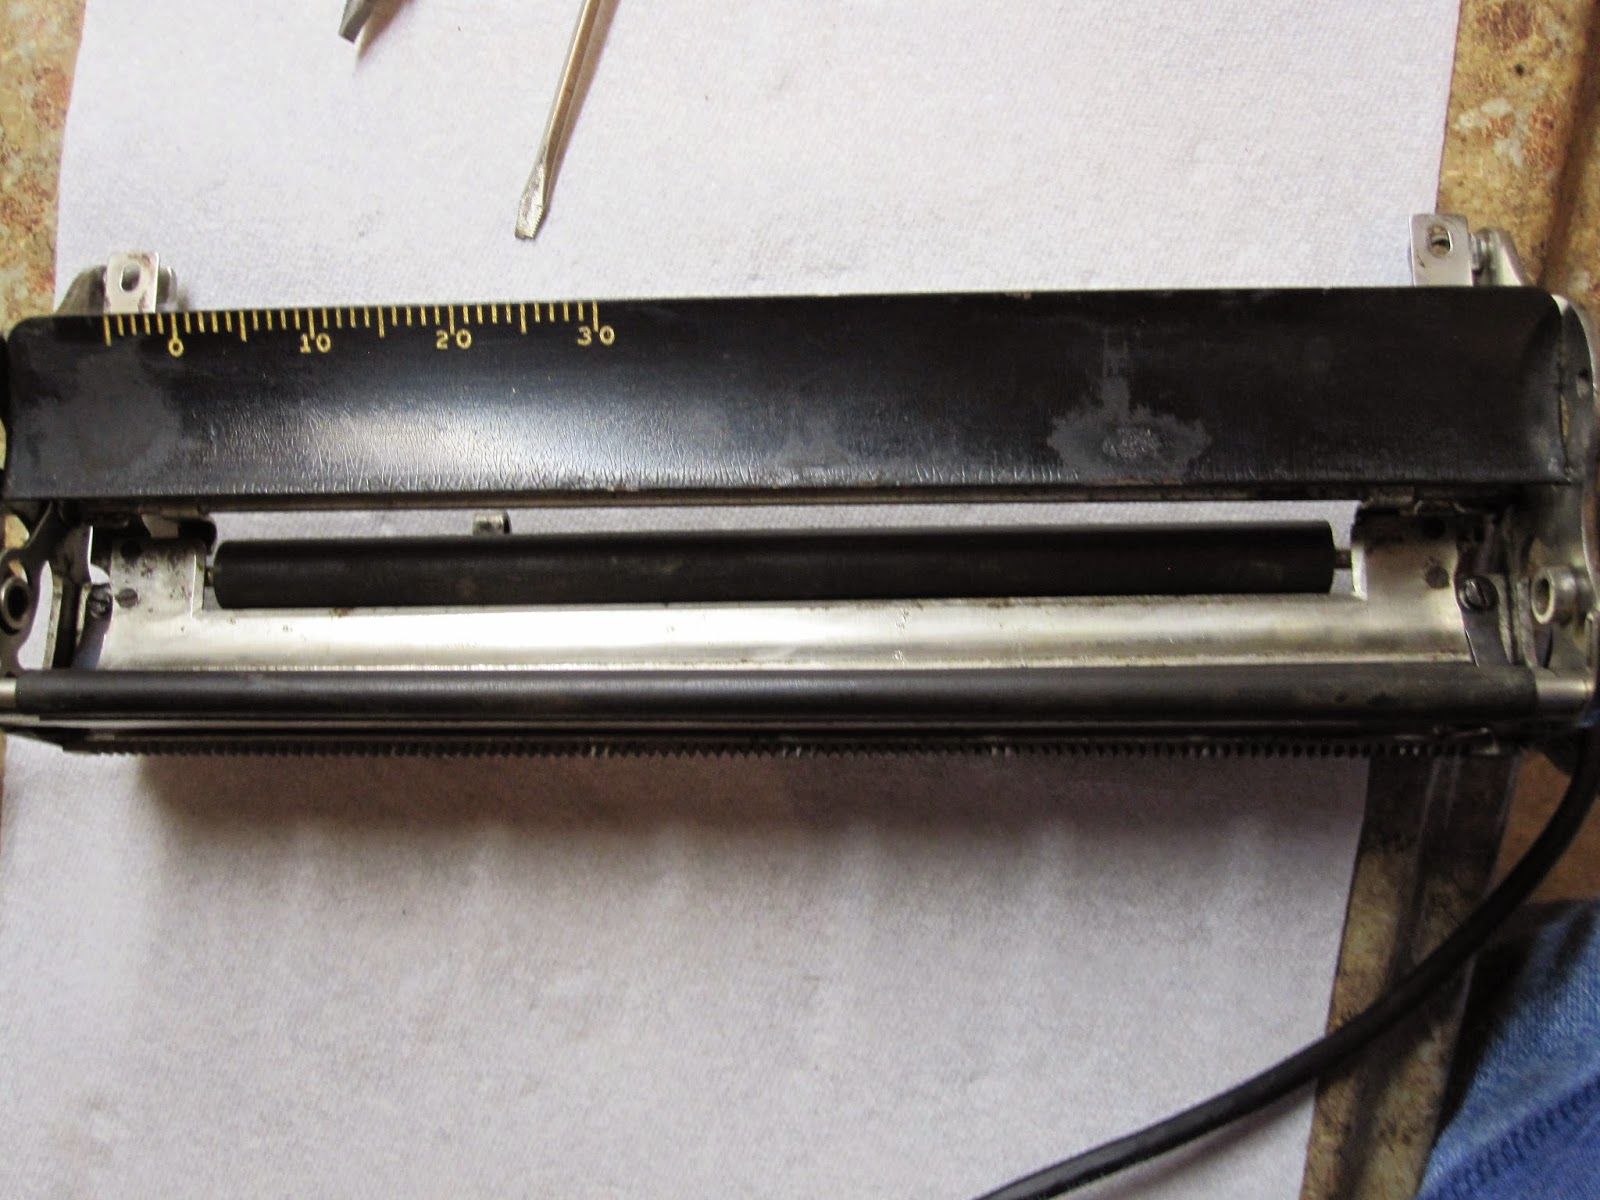
Finally, the piece de resistance, we add the platen and platen rod. Make sure the odd metal piece shown above the rod is on the rod, it is the automatic line advancement gauge. The platen should fit snugly through the large gap at the top of the carriage, pushing the roller assembly outwards to accommodate. Slide the rod in, ensuring the advancement gauge is in its proper place as you bring the gear all the way up to the frame. Screw in the right side knob, and ta da.
The final piece we add is the mechanism which allows automatic line spacing upon return of the carriage. Make sure the first tooth for this piece is outside of the first tooth on the side of the carriage.
The carriage is complete!
Back to the body of the machine, we add the bell ringer and bell on the back of the machine.
And at long last add the left margin release.
This device, pictured below, is used to, upon pressing the tab key, place pressure upon a plate beneath the clockwork motor, slowing it down so the carriage doesnt fly off to the left at Mach 1. I chose not to place this back on my machine due to odd issues I was having in trying to do so. If you need this piece, let me know.
We now add the shell on the back of the machine to cover up the large shifting wheel hub...
And throw the front plate on the machine.
Almost there!
Now that the front plate is in place, we add the final keytops...
And put the ribbon cups on. The black plastic-y disks go under the metal washer-like bits, which are in direct contact with the bottom of the cups.
At long last, this Oliver has come back together after being thoroughly cleaned.
Very few final adjustments were needed. A few keys were sluggish, so I bent the long metal rod which connects the key lever to the typebar ever so until they started to work (The areas where the typebars pivot are finicky, and sometimes need this bending to allow full and free movement.) Outside that, I made one final adjustment to the left tower and bent the T typebar to bring it into correct alignment. This Oliver would now like to speak for itself...