Welcome to the final stage of building a Fox Portable Typewriter! (Cue confetti)
Picking up where we left off, you should have a carriage which runs smoothly on its bearing rails. Now, lets commence.
To finish the underside of the carriage, well now add the guide, bell, and motor.
The typeguide also has the bicolor selector on it, along with the ribbon vibrator head.
You should be able to easily screw it in in the spaces which remain.
Now for the bell.
We first add the bell ringer, which is held by the second screw holding down the escapement body.
Now the bell. The copper tube which gives the bell its correct height when screwed in also holds down the tension spring which allows the bell ringer to function.
Here it is in place.
Next we add the motor.
In doing so, we attach the motor catch in its correct position.
Then throw on the motor, making sure to...
lock it in place with its nut.
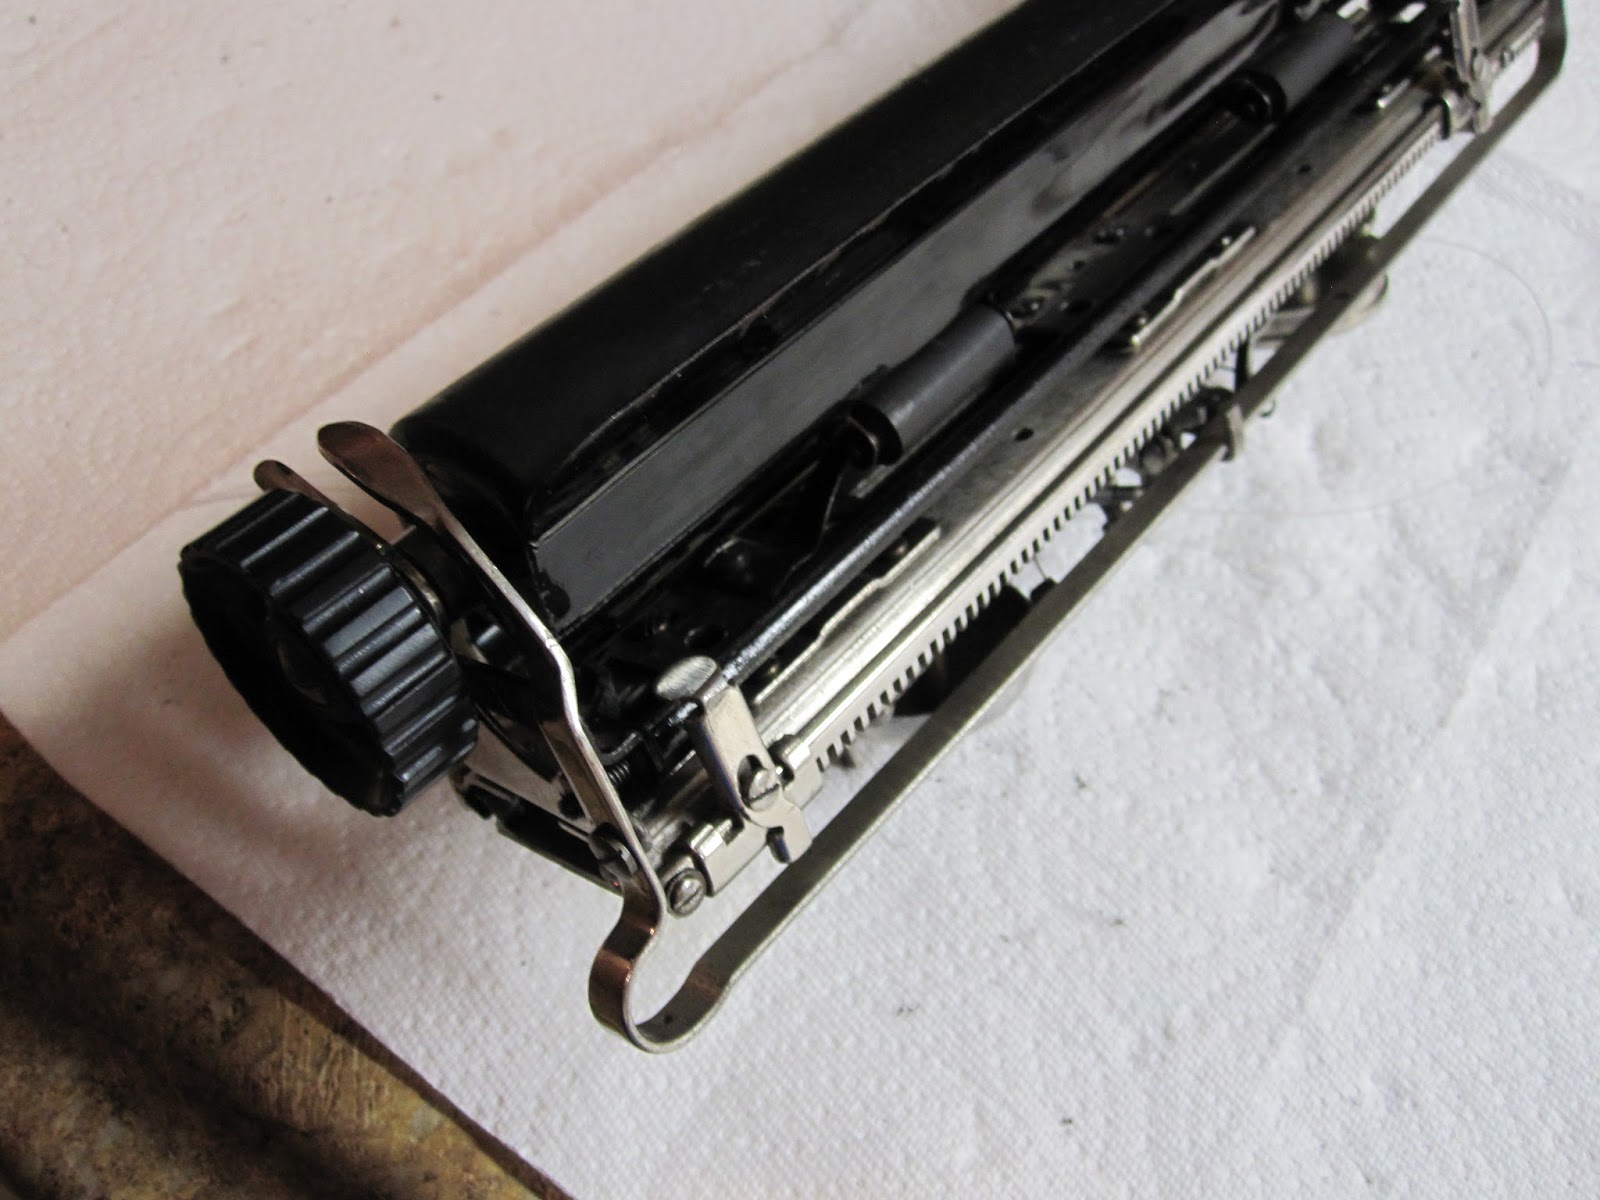
We now flip the carriage over and grab the paper bail and left side of the carriage.
Screw in the front of the left side, then place the right side of the paper bail in its screw slot on the right side, position it, then clamp the left side down and screw it in.
With the paper bail in place, we move on to adding the platen. To do so, we throw on the lever assembly.
Some machines have a thicker washer, some dont. This discrepancy is most likely due to prior repairs on each machine. I ended up putting the small washer shown between the side and the lever action, and threw a much thicker washer on the side the thin washer is currently on.
Make sure to attach the main return lever spring. You may also go ahead and slip the platen on slightly.
I quickly recovered my front feed roller, and plopped it in.
As you push the rod through the platen, rotate the platen while pushing it left, so that it catches the tension roller for variable spacing and sets the return lever action into its proper place. As the rod gets to the other end, place the paper bail release between the platen and the side, and push the rod on through.
Now, screw on the rods left side lock, and get the knob back on.
Wunderbar. Now we add the carriage escapement.
Slide it in its catch spot, and screw it in on both sides.
Its time to set the motor. If your line is broken, fishing line works wonders.
A finished under-carriage.
Lets throw the carriage plate on, and...
bam.
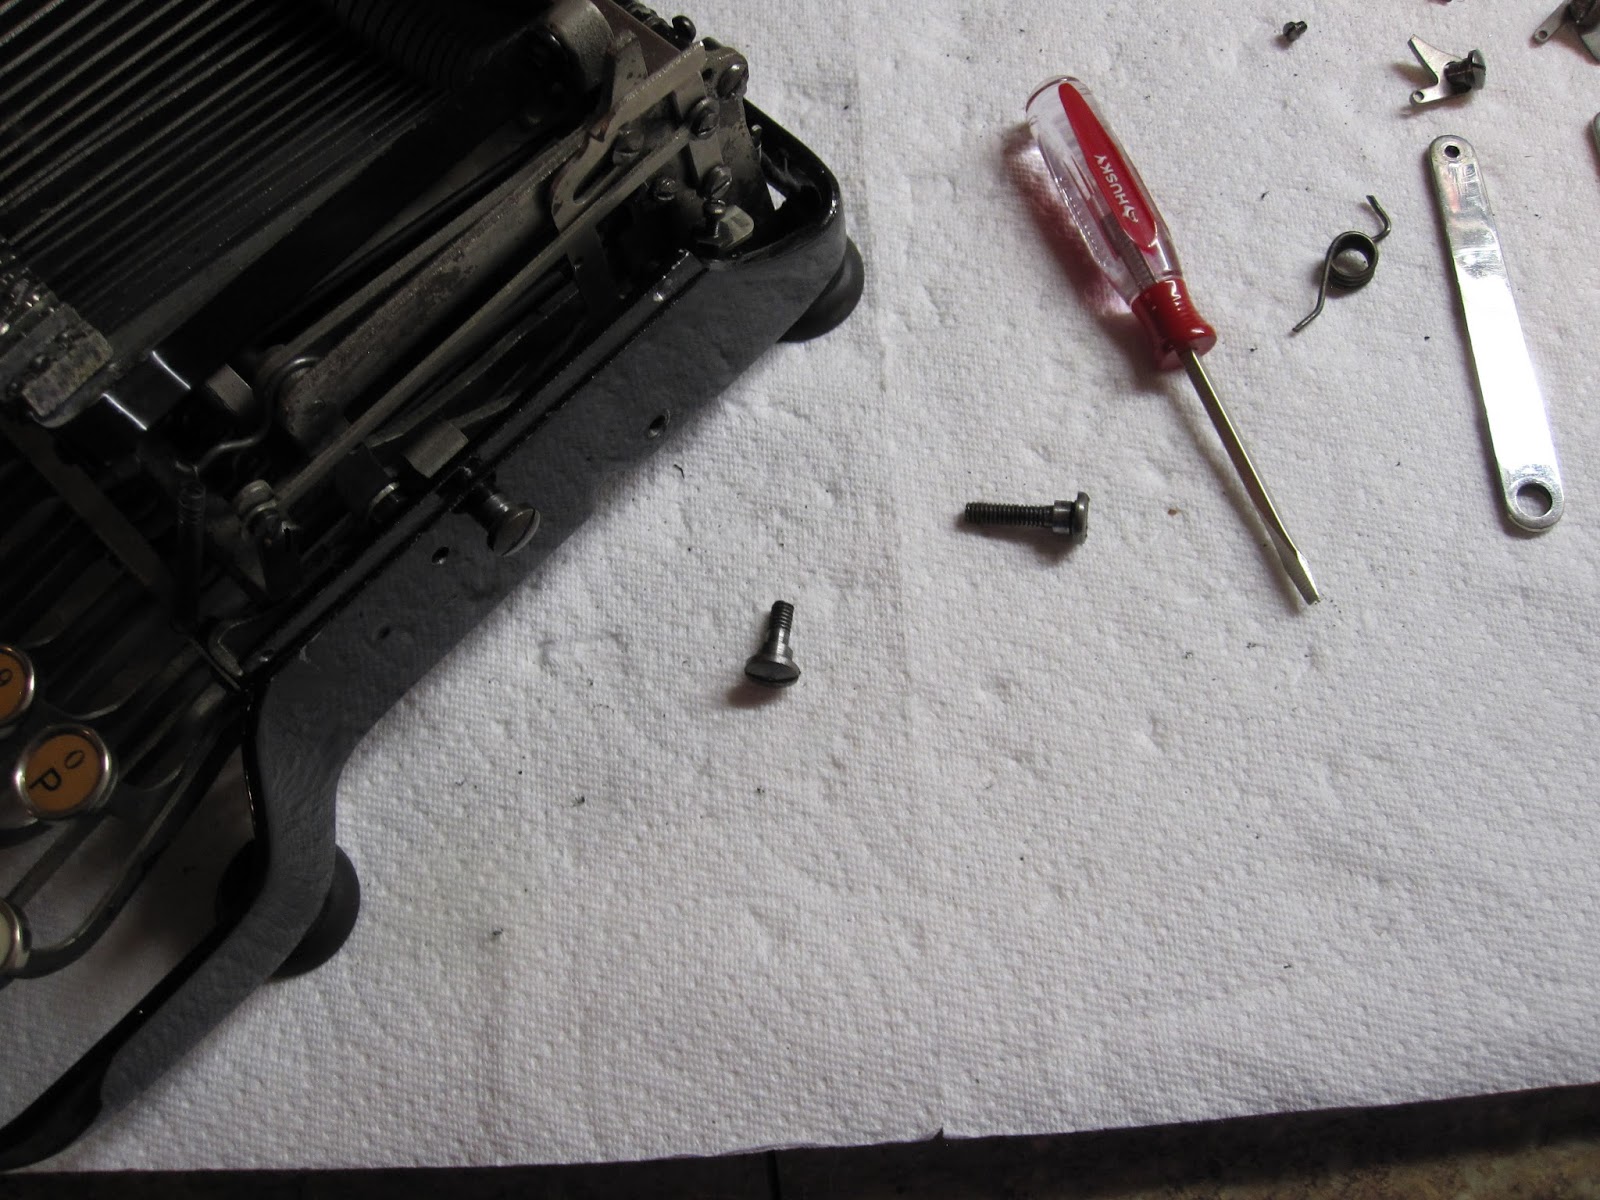
Now we add the paper fingers. Unscrew this small screw from the inside of the carriage, and slip them on. Make sure to re-tighten it afterwards.
Were ready to get this machine back together. Grab the rest of the parts.
We start with this piece.
Take the two back main screws out, and lay the machine on top of the previously shown piece. Then, screw the back left screw all the way in, and the right screw only slightly.
Its time to add this large spring. It helps support the carriage when its not locked into position. Otherwise, it would come crashing down if you weren't careful.
With the spring in place, you should be able to push on the levers and have resistance, and upon releasing them, they should snap back up.
Now unscrew the front main screws, and throw on the smaller front carriage supports.
We then attach the carriage to the front support arms. The screw at the top also holds the ribbon movement catch.
Screw the back supports in to finish attaching the carriage.
Now your getting somewhere!
These are the tiniest springs youll ever see. Ever. Be careful not to lose or stretch them. We add these to the ribbon advancement.
Now, screw on those ribbon cups, and lay the spool bottoms in them.
Throw your spool of ribbon on and screw in their holders, and tada. Mechanically, this machine is ready to go.
Throw the front plate on...
And the back plate....
And your machine is ready to go, save for any last minute tuning you may have to do.
With construction done, lets commence part two of this post;
A short comparison of models.
The early Model 1
The later Model 1
The Sterling (Model 3)
And, in spirit, the Model 2. Poor thing hasn't been the same since the war.
On the early models 1s, youll find this large spring helping the shifting function, rather than the two springs shown in the first section of this series of posts.
It also has a primitive ribbon advancement, which relies on a piece of springy metal.
You will notice its much larger backspace key.
and the location of its serial number. No. 2's have it on the right side on the back of the frame, and sterlings have it at the top of the back part of the frame.
Early model 1's also have the extra text on the front of the frame, rather than the front plate.
They also have a wood bar attached to the folding arm, to stop typebar movement when the carriage is folded down. later models lack it.
The space bar is not connected between its two levers. Also of note, the key levers have wedges in them to make them the right size. A sign that the machinery had not been adapted fully yet to portable production.
Carriage mechanism design is same as what has been shown in this series of posts. Also note that the typeguide has a small protruding piece which shows the exact printing point (not shown).
Here is the springs on the later no. 2 for comparison.
the smaller backspace key.
the new ribbon advancement system
same mechanics.
decal no longer on front bar...
but rather added onto the front plate.
Paper bail decal, sadly, no longer added. The decal, it will be noted, was actually the one used on the Fox desktops. I must assume that they were using what stock remained with no intention to continue labeling these machines on the paper bail (Despite the awesomeness).
Later no. 1 has spacebar levers connected. Also note the holes for the previously mentioned wood block...
Yet no wood block.
Also note the two spacebar stops, and rounded spacebar.
Versus one spacebar stop, and tapered wooden spacebar.
The sterling, identical to the Model 2 mechanically, is different from the model 1's
The sterling also has a new design for its spool nuts.
Model 1 and 2 used these larger ones.
Early model 1's didnt have the left locking piece.
That concludes this series of Fox Portable posts. I hope this someday helps someone with their own Fox related efforts!
And now, for something entirely different.
My "Wanted" list has slowly grown shorter, and just the other day my No. 2 most wanted machine rolled on in. Its the adversary of the Fox, but golly is it a dang good typewriter. And most importantly....
This Coronas golden baby.