Beware the ghosts of Royal technicians if you deign to mess with their handiwork! (Ominous lightning and thunder)
To begin the final assembly of the body, I started placing in the rows of keys and their base-plates. For the 4th and final one, you will need to place the keys into the base plate away from the machine, then lower it all into place.


You will want to get the Shift Lock into its position; here it is, between the key levers. It is held in place with a small screw on the black lever.

Go ahead and add the springplate onto the back end of the machine. How far up or down it goes is based on your specific machine.


Now, go ahead and finish putting the small hooked connectors onto the key levers.

And now we begin adding the typebars. Here, I have Q in place. To put these in the machine, you need to:
1) Place right hand hook into place on universal bar.
2) Place typebar into position, and move rod through it.
2) Place typebar into position, and move rod through it.
3) Hook left side of long rod into proper keylever socket.
4) Hook right side spring end into springplate.
5) Repeat 41 more times.
I often test each key immediately after putting it on, to ensure that there are no hold-ups or such acting on it.

Here it is, all done. Huzah.

Next we throw on the ribbon advancement rod, which slides into the right side first. There is a small screw on that side as well which will hold the rod into place.


At long last, the backspacer is put on.


And the back plates. The spring on the backspacer latches onto this left side back plate specifically.
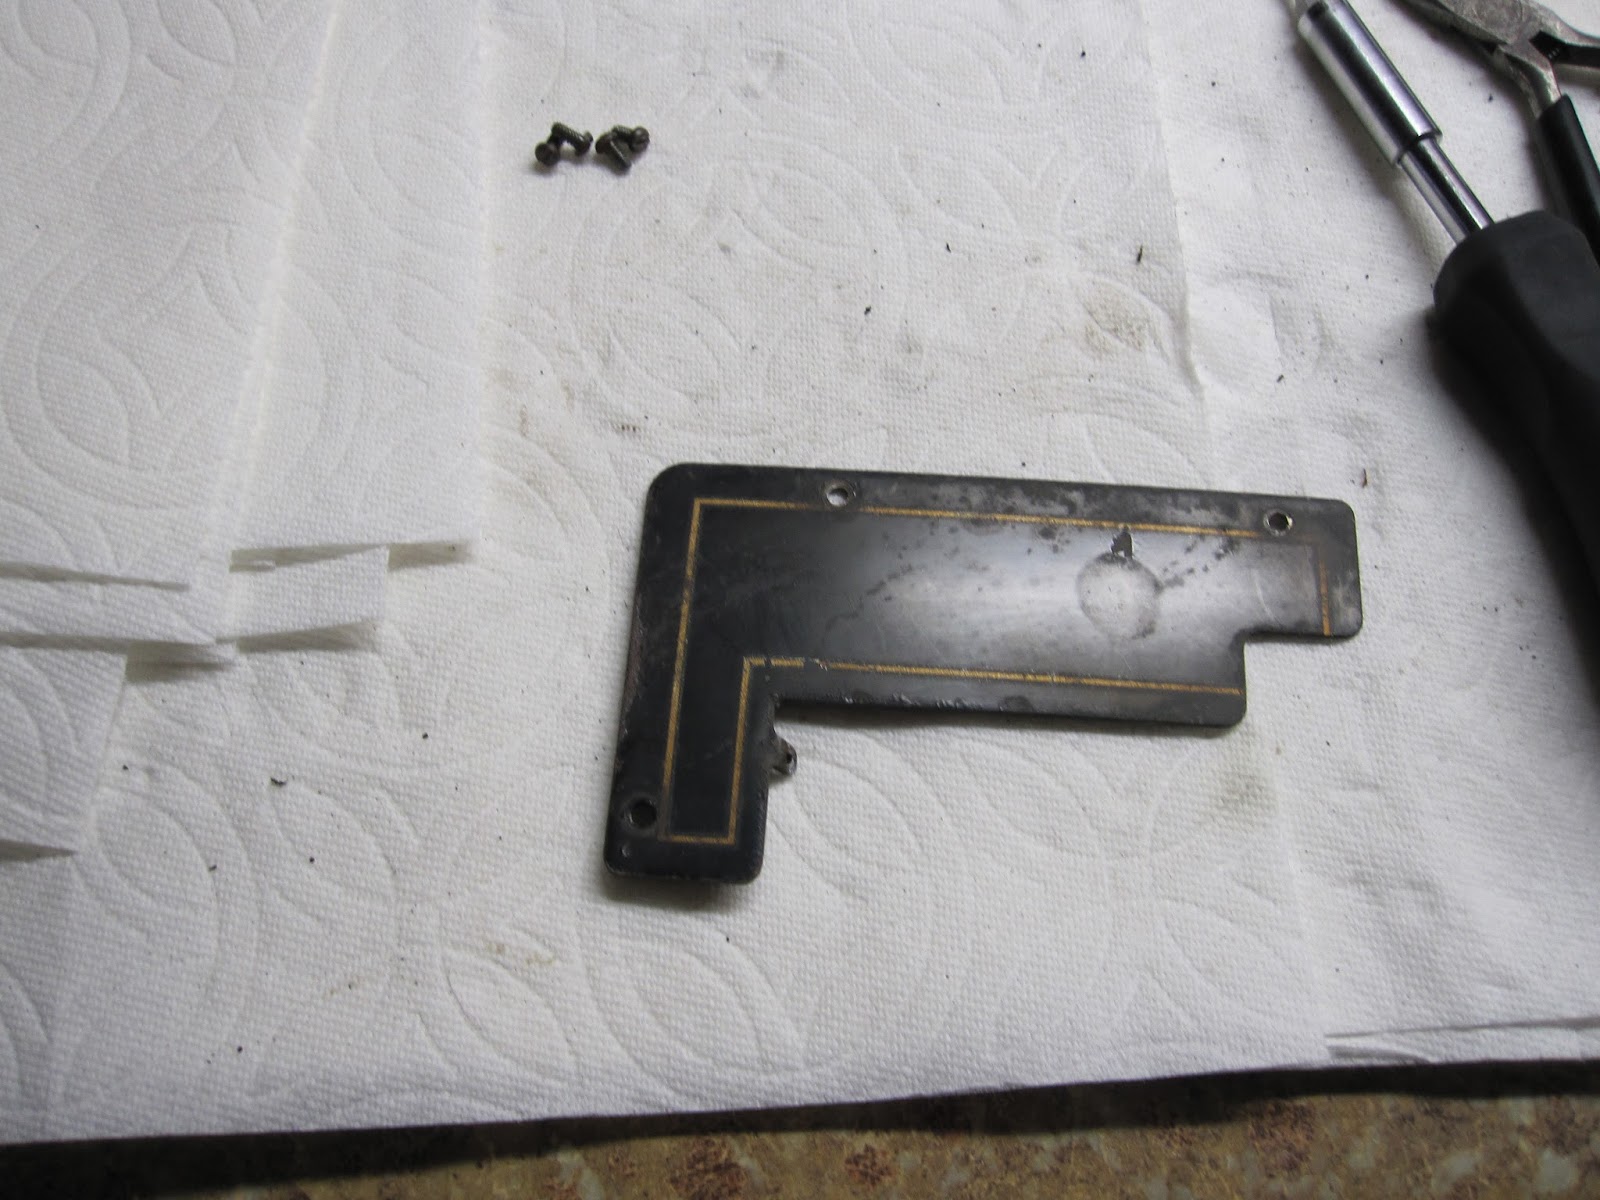

And now the front plates.


Tada! Your Royal 5 body is now complete. As long as you've been testing every function along the way as you have installed them, there should be no issues at this stage, and when pretending to type on it, all keys should work properly. Put some pressure on the escapement, and ensure that everything is aligned right.
Next up: The Royal 5 Carriage and Finishing Touches
These are so amazing to read! :D
ReplyDeleteWell shoot, I'm glad someone enjoys em!
DeleteVery impressive, but WAY to much for me to endeavor. I have just become custodian of a fairly well kept Royal 5 and simply want to clean up the insides a bit. Have you anything to help guide a novice in minimal disassembly so that some mineral spirits can be applied to type-bars and other areas in need of degunking. It types with light fast touch, but a few keys are a little sticky. Best I can tell is to get any of the cover off on top you have to remove the keys from the typebars or something beyond my limitations.
Delete