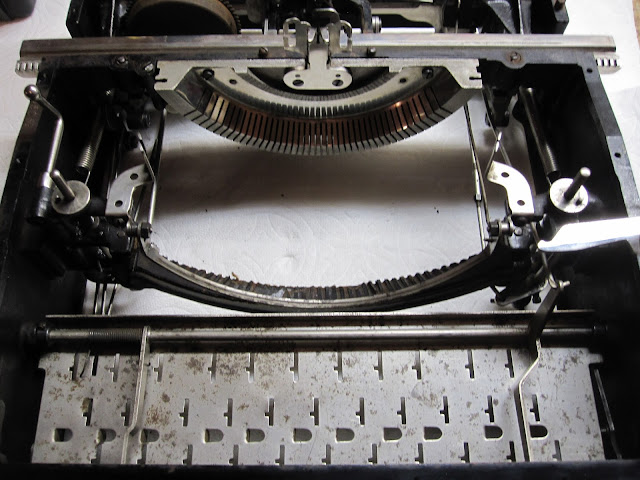
Welcome to the magical, wonderful world of rebuilding typewriters. Please keep your hands and legs inside the crazytrain at all times.
Picking up where we left off, you should have just finished placing your spacebar on your machine.
We now turn our attention to the ribbon drive assembly.
First, well get the left side on. The reverse L will hold the rod off to the right, and connects to the left/right lever at the top.
Youll need to unscrew the screw on the wormgear, slide the wormgear end through the hole, then reattach the screw.
Next, youll need to position the assembly into place. Youll start by positioning the small circular part above the back hole, then slip the rod into place and fasten the main hanger to the side of the frame. Ensure that the catch arms on each gear on the rod are in place to allow one-directional travel of the rod in conjunction with the main clockwork motor.
Here it is in position.
Now, we add the right side. It is far simpler of course.
Go ahead and throw the linkage on for the bichrome selector as well.
Now we add the typebar rest. It screws in from below.
Next we throw the margin-stopper for the typebars
It swings towards the back of the machine, and would in effect stand at the very tip of the typebars to stop them.
Next I threw on the shift keys. You'll need to put some pressure on the ends to get them to slip onto their linkage spots.
Now we add the second cover step, and alongwith it the tabular lever.
After you screw it in (from the outside of the frame), make sure to get its spring on as well.
Next, we throw on the bell-ringer/tabulator activator.
It goes on the right of the escapement assembly.
Go ahead and get the bell on at this point.
And get the tab linkage put into place.
I then threw in the bottom row of keys, and the backspace.
When putting on the swing-levers, make sure the small ones that connect to the plate fit into the top hole of the two on the bottom of each key lever (I messed that up here, pay no heed).
Next: Finishing the Royal 5 body


This past weekend, I was digging through a box of rusty metal parts from my partially dismantled LC Smith 8 and planning a spring project. I admire the clean and shiny metal parts of your Royal 5. Are you still using just steel wool and elbow grease or some de-rusting product as well?
ReplyDeleteSo far, just steel wool. The innards of this machine weren't rusted, just covered in uberdirt(C). The carriage will be a different matter, as its about 30% rusted.
Delete