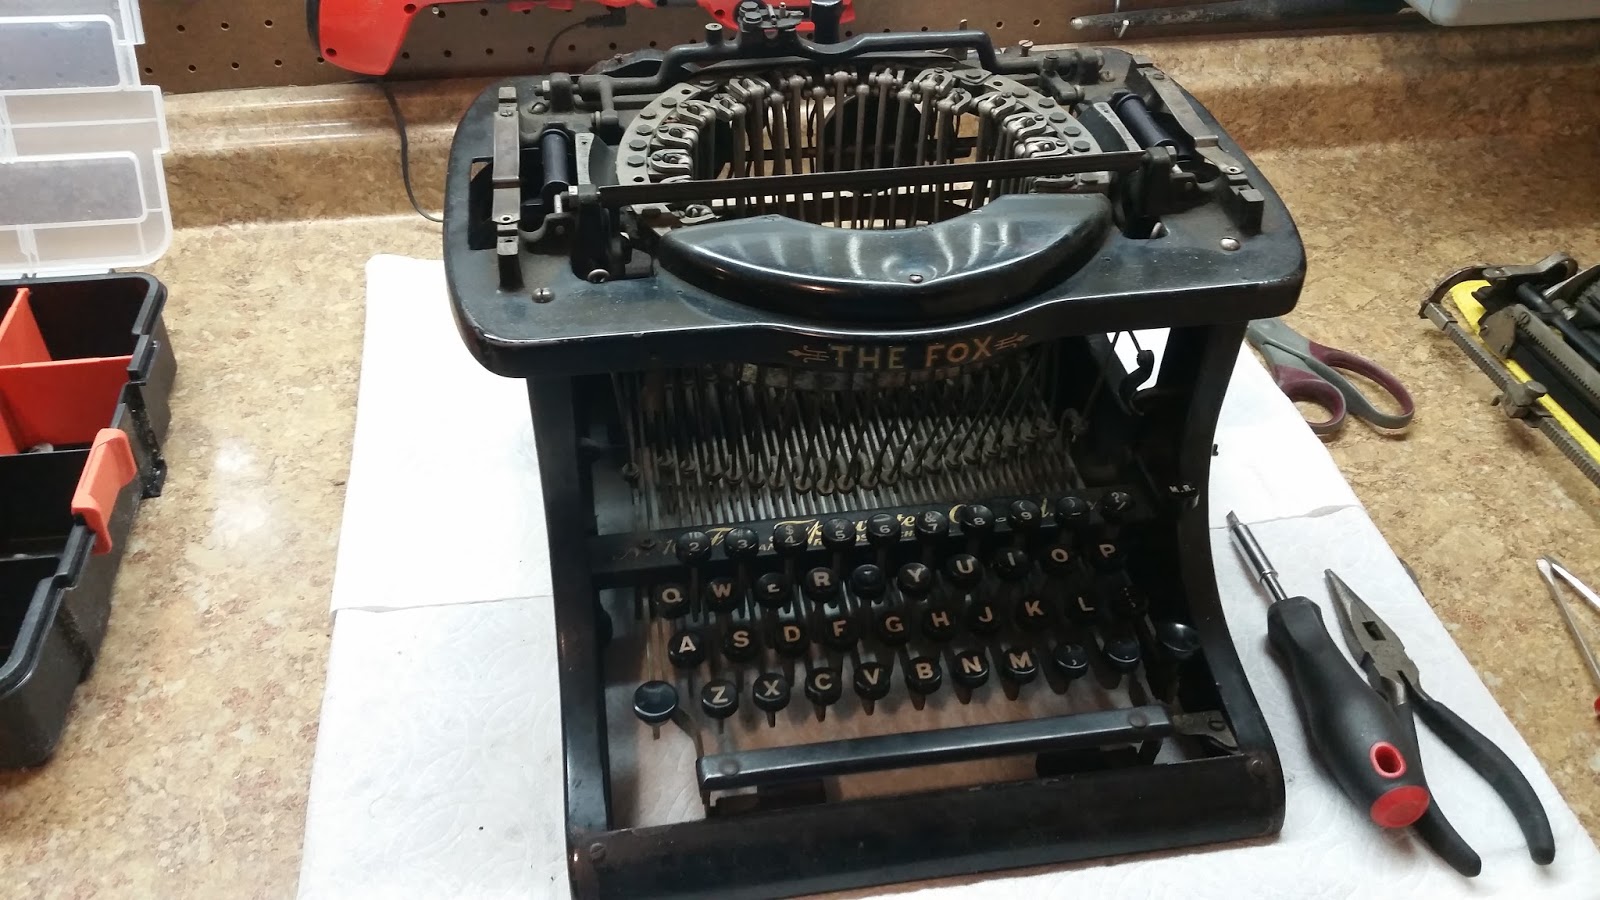
It's time once again for another captivating instalment of Let's Build! This time brought to you by the Fox Typewriter Company, with this to say: "We don't exist anymore. Stop using the Ouija board to bother us".
Before we begin, a few notes/cautions;
Always take note of particular parts you don't want to mess with when taking a machine apart. These include the general escapement mechanism, or screws setting the spacing for said mechanism, as well as hanger-mounted typebars. Getting these parts back into proper alignment is certainly possible, but to maximize efficiency of your time, it is best to leave these critical components alone.
Always keep your parts organized, in some fashion. It is sometimes helpful to replace screws into their slots after the part they hold in place has been taken off.
This series will be able to be used for most Fox understroke desktops, however the Fox 10 is a "cheap" version which lacks certain features found on other models, and so those sequences will be up to you to do.
Let's begin.
To start, we have the basic frame assembled and ready to go (though I also did take off the front comb). You will notice the spools and rods for the spool gearing are still in place; these have components which are pinned in, and so are a pain to take off. Its easier to just leave them be.

Flip the machine upside down, and add the bar which holds the keylever springs.


Next we add the bar which has the back comb, and which is where the keylevers "anchor".


Now, the front comb.


Get your ducks in a row, and prepare to add the first lever. We start with the Shift lever that does not have the shift lock on it, inserting it before then putting the spring in its slot, then pushing on the spring and moving it into place under the lever.


You will now add the spacebar in the same fashion.

Being patient, you will now work left to right, adding each lever. There are roughly 6 levers, being 4, 5, 6, T, Y, and U, that you will need to ensure have their vertical rods going between the two ribbon mechanism rods on the back, rather than out in the front. This is necessary for connecting them to the typebars.

Ensure the ribbon gearing is properly positioned for the next part. Now, you will push the front vertical rods forward, and the back ones back, and gently lower the top deck into place (having never taken the typebars out of their spots). It will not likely fit down at first due to the vertical rods in the back still being in the way; slowly and carefully start moving them into position and connecting them to their proper typebars. The deck will eventually be allowed to move into its proper place, at which point you will want to screw it in with the 4 main screws. Continue connecting rods to typebars, until the system is fully set up.

To insert the motor, we slide it in from underneath, keeping the small gear in its proper position, and push the rod in. Make sure the end of the rod engages the slot in the ribbon mechanism rod, push all the way in, and tighten the small holding screw just below the rod to keep it all in.


Next we add the escapement. Lowering it down into its spot, check that the two rods fall into their proper positions as found by flippnig the machine over and comparing the wooden bar with where it fits best in its holder so that the shift levers do not engage it, but the rods do not slide against other keys. Screw the escapement in, place the small nuts and wooden bar in place, and ensure the tension springs on the bottom of the wooden bar are firmly in place.


Attach the escapement spring in the back right of the machine, dangling from the top deck. It will fit into the hole in the escapement rod on that side.

This screw adjusts tension on the escapement. Not worth dealing with yet, keep it in mind for adjustments later.

Now we add the shifting rod for the main body. Slip it in place, and screw the shift lever rods into it. Attach the spring from the front left, under the deck.


Next, we attach the margin release lever.


Then the bell ringer

Then the motor catch.


Then the margin stop.


Then the bell.


Then the decorative escapement plate, the the random metal parts which go over the ribbon spool areas and for which I have no idea what their real purpose is.


You have now constructed the primary body of the Fox. The carriage is all that is left to build, and then on to final adjustments to make your Fox sing.

Coming soon, to a blog post near you: Let's Build a Fox "Blind" Desktop Typewriter Part 2