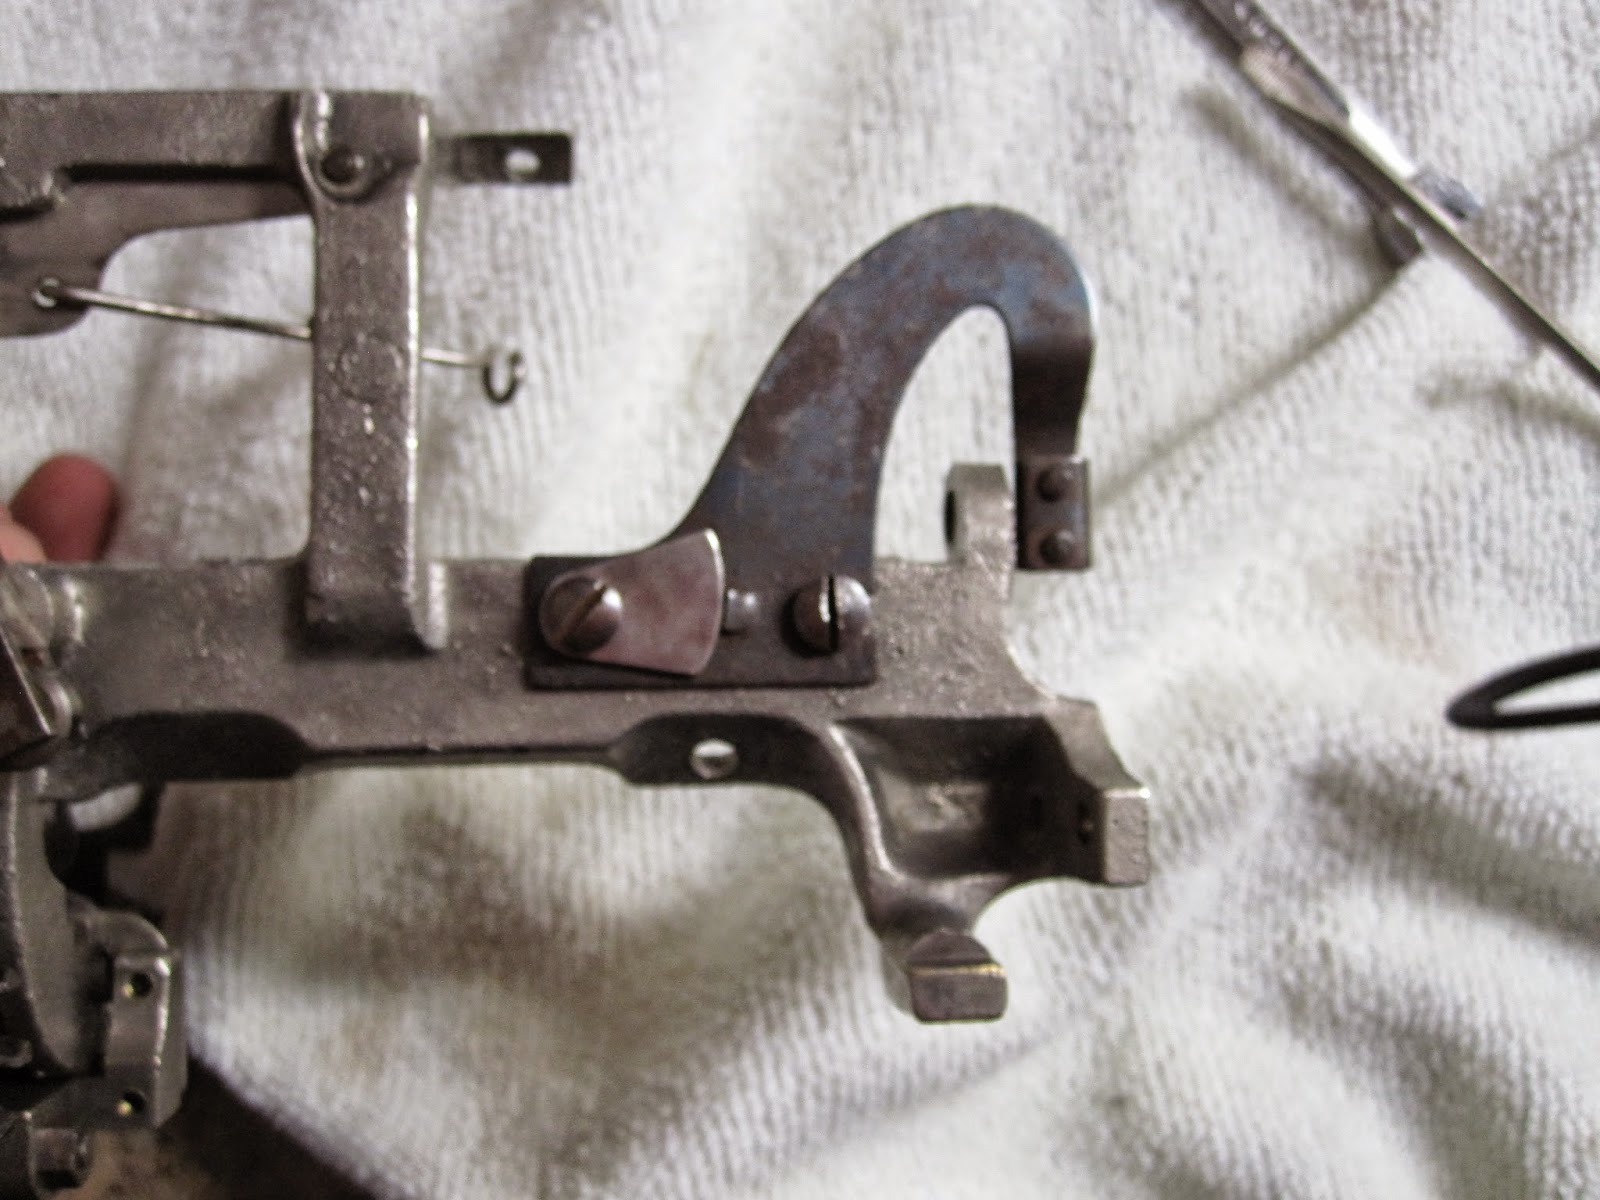
So you need an escapement/carriage rail assembly? Just make sure you have these handy dandy parts prefabricated and ready to be brought together!
First we begin with the base skeleton frame of the assembly.
Now we add the small hooked bit to the underside. This is the guide for the reverse-T bar well be adding later, and is also the anchor for the screws to the geardrive.
We now add the gear drive, screwing it into the piece added previously. Ensure the square towards the top has its drilled out half sphere pointed outward, to accommodate the spring used to allow tabulation.
Next we add the piece to lock the geardrive in place. Notice the other half-sphere, and the spring.
Youll want to take the top part off to make this considerably easier for the moment.
Add it with the round bulges aimed downwards, and reattach the top bit.
Next well add the tab bar and right margin release bar. Not pictured is another small bar which, surprisingly, was the only thing I forgot to take a picture of this time around.
Here they are added. Attach the springs seen previously to their respective spots.
Now we add the top of the geardrive which connects to the tab bar, allowing the press of said bar to force the gear back and disengage from the carriage.
Now we add the ribbon vibrator and escapement mechanism, which can not be taken apart safely beyond what is seen here for the most part. Most of whats connected is riveted or precise.
And here it is, in all its glory, attached once more.
Now we add the back-spacer holder.
It screws in on the bottom of the skeletal frame, and covers up the screws which hold the escapement/ ribbon vibrator assembly, so make sure this is done after the previous step.
Now we add the assembly guide wheel thing.
Make sure the wheels are facing away from the center of the machine. It is on the underside of the assembly.
I then add the carriage belt hook-stop, which allows the carriage to be taken off the machine without unwinding the motor. This is towards the back of the frame.
Next is the left-margin stopping thing. That's its name. I swear.
It is put on the underside of the skeletal frame. The small fan bit helps ensure its properly placed.
We now add the reverse T bar.
It goes on the opposite side of the ribbon vibrator on that entire assemblage, allowing a pivot action.
Next the shifting bar, which connects the assembly to the segment underneath which is operated during shifting.
Youll be placing it in the dug out well behind the ribbon vibrator/escapement assembly.
Next add the left margin rail
Then add the bell ringer device
Now we add the right hand support and back-spacer assembly.
Make sure that the backspacer is properly in its place near the center of the whole assembly, then screw it in with its two heavy screws.
Repeat for the left side, save for the back-spacer assembly.
And now, the finishing touch:
With the rails now in place, your escapement/carriage rail assembly is just about ready to be dropped into place on the machine body. There are just a few things to do before that, which will be detailed in the next section: How did we even get this far, Mr. Thomas?
If you have questions, concerns about the welfare of this machine, or comments, ask below! Ill do my best to help