Monday, October 12, 2015

An Underwood Update

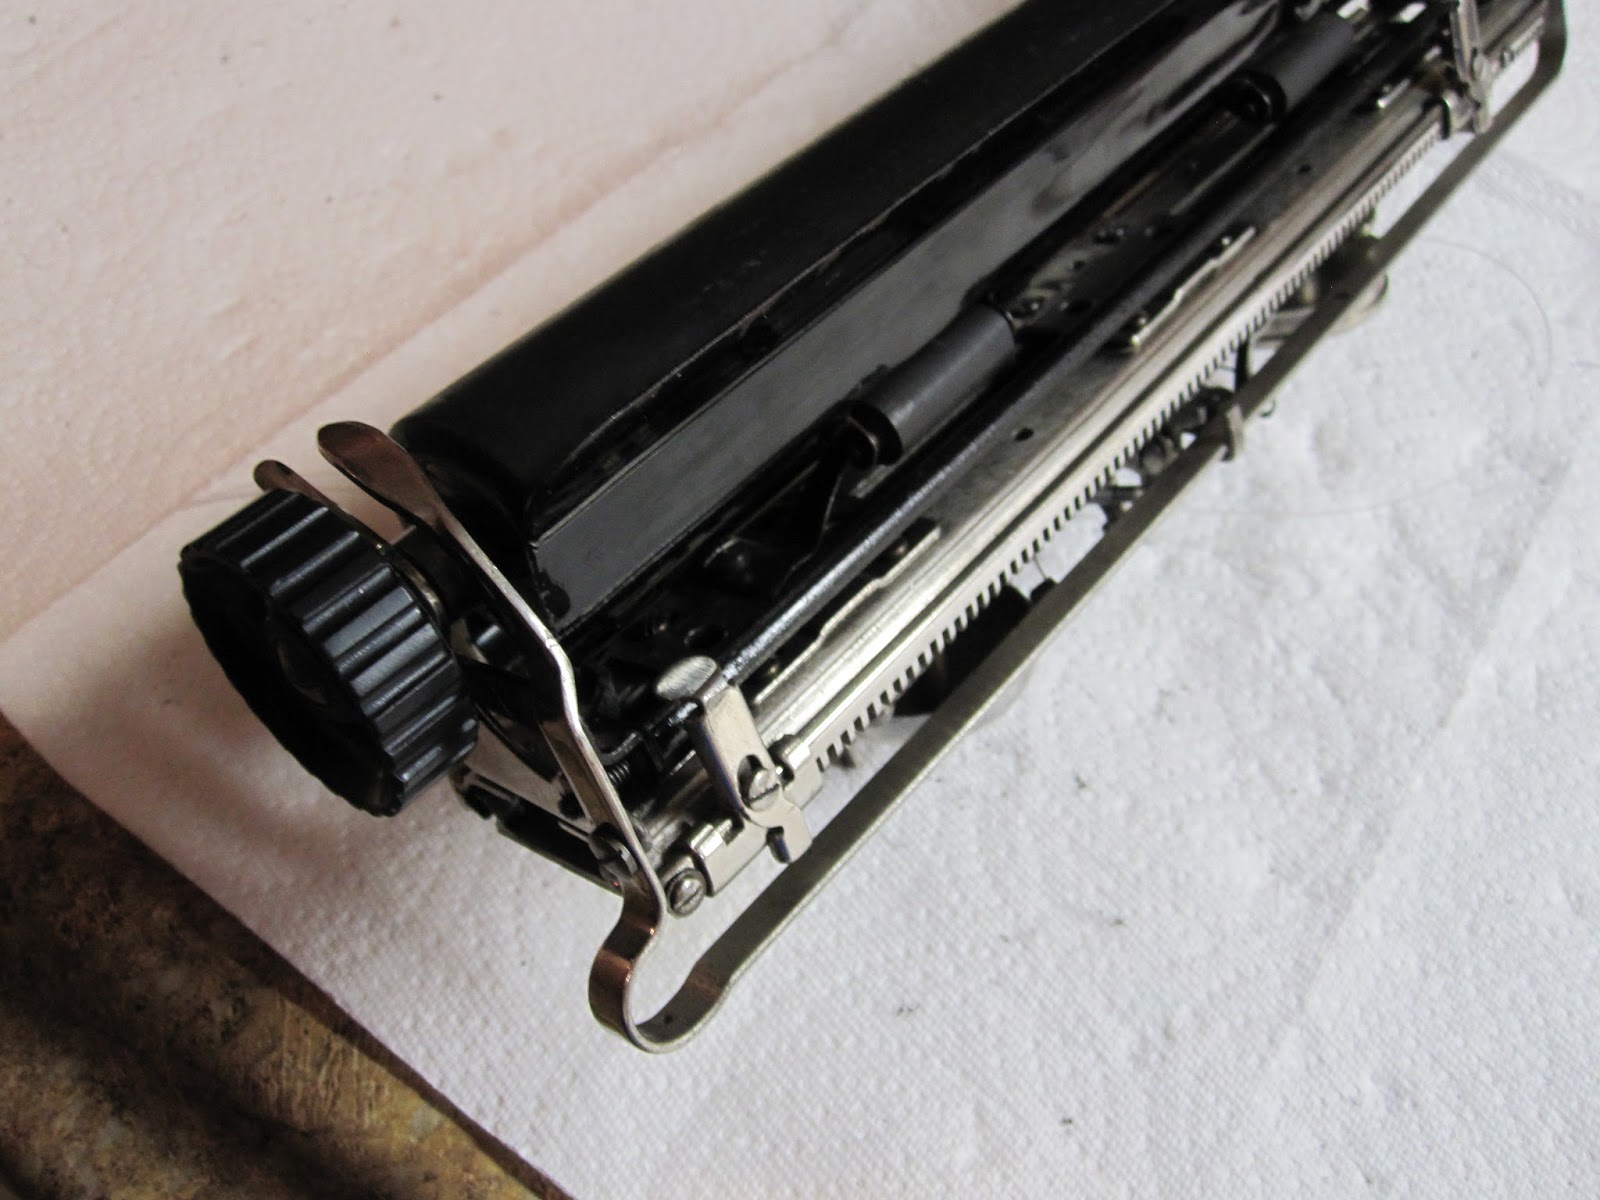
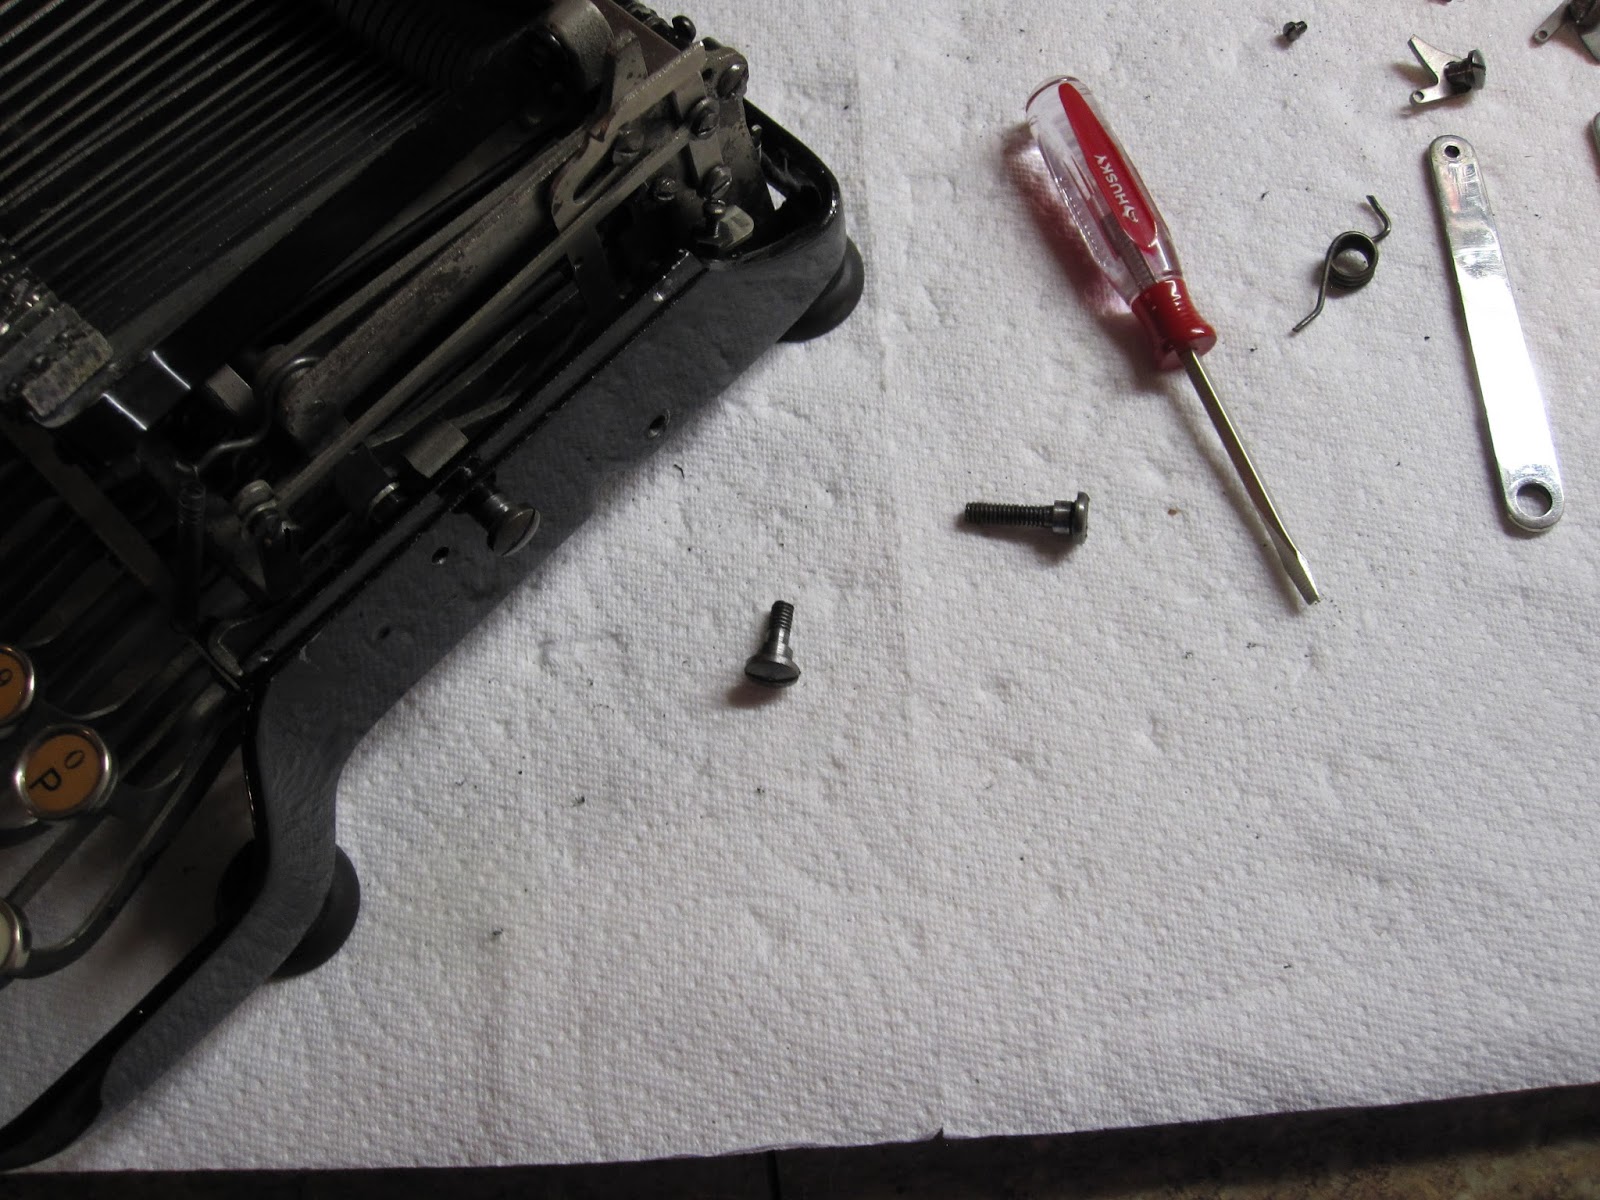
Normally, I like to let machines keep their original paint jobs. Most deformities are a testimate to the age of the typewriter, and all I will do is try my best to clean it up to get cigar smoke and cracked varnish off.
I acquired this machine quite early on in my typewriter hobby, however, and if I remember right it was the 3rd or 4th machine I found. My first, a Royal 10, had good paint. This machine, however, had pretty dull paint and, being yet unskilled and unguided in my new hobby, decided I would repaint it. And so I did, wrapping the interior with plastic wrap and grabbing a can of matte black.

As one might assume, things didn't turn out well. I found that hindsight is 20/20, and the machine was worse for wear due to my actions. Sad and angry at myself for horrendously deforming a 100+ year old machine, I placed it in a storage cabinet in my garage and there it sat until this year.

Earlier this year, I finally found the courage to right the wrong I perpetrated against an innocent and once well used machine and, with the skills I have gained since, did what I have begun to do a little too often; I tore it to bits, and grabbed my supplies.

Slowly but steadily, the Underwood now comes back together. Its fresh paint dry and smooth, I've begun on getting the keylevers cleaned and installed. That, however, is always one of the more tedious jobs in a typewriter restoration.

(I've got the machine parked on a bench on a separate wall from my normal counter so that it doesn't get hit with the dust and debris from my cleaning operations)


The counter of a madman. I separate the keylevers by groups of 10, then work at each group 5 at a time. My process starts with lots and lots of steel wool, scrubbing the key lever clean and removing just about anything save for the solid steel. Then, after tidying up the keytops (I don't like to mess with the graphics of the keys themselves. Makes a machine look the part with sunwashed keys), I wash them with a windex-d rag, place painters tape around the keytop and the very back pivot point, and spray a single layer of black lacquer over the lever. Only a single layer so that 1) they dry quickly and I can get them installed, 2) I don't expect them to get banged up in the middle of the machine, so that one layer should be more than sufficient and 3) so that I don't build up too much paint which might cause friction or a bind later on.

Once the levers are done, I install them one at a time, checking that everything is moving smoothly before going on to the next. That way, in the end, there should be few problems if any.

(42 key levers, 42 linking levers, and 42 typebars... tedious as tedious gets in regards to cleaning.)


Also of note, I wont be doing a "How to build" for this machine. Why not you ask? Because I only choose to do so when there is no other information truly available and easy to access in regards to such a project.

For Underwood Standards, however, there already exists primary, original documentation of how to properly rebuild such a machine;


It can be found here:

 http://johnesimmons.com/Typewriter/Articles/Manualpdf/Underwood_Repair_Manual.pdf

It is quite handy and details, from the keylevers onward, how to rebuild a machine. I am sure this would have been used by second-hand typewriter exchanges everywhere back in the day to make the most of heavily used office machines.

Stay tuned as this Underwood gets the make-over it has long deserved.

Friday, October 9, 2015

And on the third day, the FoxPocalypse

The hours became blurred; the day turned to night. And still my adversary, the great black fox, eluded me. Until dawn crept on the third day of the hunt, and we spotted the great beast in the thick of the woods. It was a mighty battle, fraught with terror and madness, but in the end we prevailed; The mighty Fox was brought to its end.

Or, at least, taken apart. I have disassembled quite a few machines, but none put up such a fight as this Fox. Putting it back together will take some ingenuity because my process for taking it apart at a point turned into "lets just unscrew whatever we can and go from there." The main issue with taking these buggers apart is that the back-top of the frame is also screwed to the central support in such a way that you cannot unscrew the two unless almost everything is out of the way. Due to that, and the fact that the central support holds the shifting rod and the key-lever action rod, on top of the fact that they used pins in a lot of the fastening rather than screws, makes the whole thing chaotic.

I have also noted some reasons why we can assume the machines profit margin was lower than the competition, such as Underwood. Rather than rely on any sort of slotted segment for any part of the entire mechanism, higher quality, though more expensive, alternatives are used. The key levers are screwed into a back plate via a small pivot on the end of each bar, the screws being within larger hollowed out screws (honestly, it's hard to figure what they were thinking back then.). The action-levers are separated individually by fancy washers that are partially hollowed to reduce friction. The type-bars are not just staggered, they're double staggered, and I cannot even begin to explain that, and alongside being double staggered the design has every other typebar conjoined with its "brother" with a metal piece. I can only assume the point of it all was to ensure absolutely permanent and perfect alignment no matter what.

On the side of ingenuity, the shifting tension can be adjusted by turning a screw on the right side of the machine (accessed from the back, so it will be to the left) which is part of a worm-gear system. Due to the pins on certain features, alignment of parts is guaranteed to always be perfect.
And, to top it all off, due to the highly expense route they went with, I can say matter of factly that the design of the Fox allows for the lightest touch possible. Only the springs create any resistance, and they are necessary to ensuring the typebar retreats properly. If your Fox doesnt have the lightest touch you've ever experienced, its either not oiled properly, got some gunk in pivot points, or something.

Now then, here's the current state of the Fox in what I have dubbed the "Fox Operation Zone";


I'm still working on getting the ribbon-advancement rod out. Its gears are pinned, and they aren't budging yet.


On the floor, the Underwood has just received its new layer of shiny Regal Red.


The "Underwood Operation Zone". I'll be working on both machines at roughly the same time, but emphasis for now is on the Underwood. I desire to use it for the upcoming "NaNoWriMo"


And finally, between the two operational zones, the actual cleaning and fixing zone, with radio.


Stay tuned for more updates on the Great Black Fox, and the Imperial Underwood.

Wednesday, October 7, 2015

A Californian Fox In The North Idaho Wilderness


Some of you might recognize this ol' machine. (Though with its front frame, perhaps)


 You would have last seen it at https://myoldtypewriter.wordpress.com/, where it had been brought from a dysfunctional state to one of smooth foxy typin' action. (I would like to mention that this machines carriage advanced very smoothly on arrival... despite the fact it is missing its ball bearing. Now that's a smooth design!) Now, due to the incredible generosity of a fellow Typospherian, Mrs. Mary E., it has come into my possession. And I will not fail this Fox; it's going to get the full, patented, copyrighted and trademarked Words Are Winged™ Typewriter Restoration Treatment©. 


What does that even mean, oh insane one?

Well, that means that this grand ol' Fox is going to have its:
Nickel parts re-plated
Aluminum parts polished to a shine
Painted mechanisms repainted
All parts properly lubricated
All rust eradicated
All typing... perfected.


The shifting arms had, once again, broken during transit. Folks, I hereby declare all Fox Desktops officially un-shippable. The magic pixies are out to harm these glorious machines. 


The paint will be the hardest part to deal with. I'm good with the mechanics, but I'm still learning to deal properly with paint. Especially pain that has its layer of varnish bubbling and yellowing.


A comparison of the Underwood 5 frame to the Fox. The Underwood would be slightly smaller, I believe.


A little bit of careful scratching revealed the gold lettering of the E. That whoever randomly painted some of the parts on this machine did so without even caring about the beautiful decor annoys me.


Well, perhaps I can get this thing cleaned without taking it apaWOOPS


Too late. This is the Fox after only an hour and a half in my hands.


The back top frame piece is held in by a rod in the dead center on its bottom. I cannot yet get it out, and that annoys me as well. It would expose the rest of the typewriter if I could get it out. That is tomorrows official job.


A Gajillion linkages. Not a Billion. A Gajillion.


Underwood Update: I've got the paper bail plate painted, and the front plate primed. This is what Regal Red looks like. Now, I just need to await the arrival of the new decals.


Tuesday, October 6, 2015

An Underwood 5 Frame Sans Paint

It's always interesting how some things are there, and we just can't see them. Not so much for lack of trying, but for lack of knowing. And lack of visibility.
Case in point, an Underwood 5 frame brought down to bare metal. I've had this machine for about two years, and have been on and off working on it for most of this year.


Stamped as serial number 475,051-5, I rescued this machine from the depths of hell (otherwise known as Spokane). It had a good bit of rust when I got it. 


If we look at the now exposed left side frame, where the foot would go, we see it stamped as 541824. What does the difference in serial numbers mean? Does the one on the base take into account all machine frames ever produced, and the actual number takes out of consideration broken or unused frames?


You will also note that the frame is not one single piece. The front bar is a seperate bit, with pins and screws to hold it to the frame sides.


The two screws at the top were unexposed prior to glassbeading, and are as flush as can be with the frame... perfect for painting over.


And the back piece is, of course, also a separate bit that is in place due to screws and pins.


This Underwoods getting painted tomorrow, in Regal Red. With the mechanisms painted black and new decals on the way, this Underwood is getting the full revitalization treatment.

Wednesday, September 9, 2015

Lets Build A Fox Portable Typewriter: Finishing Touches - Included; A Short Comparison Of Models

Welcome to the final stage of building a Fox Portable Typewriter! (Cue confetti)
Picking up where we left off, you should have a carriage which runs smoothly on its bearing rails. Now, lets commence.

To finish the underside of the carriage, well now add the guide, bell, and motor.


The typeguide also has the bicolor selector on it, along with the ribbon vibrator head.


You should be able to easily screw it in in the spaces which remain.


Now for the bell.


We first add the bell ringer, which is held by the second screw holding down the escapement body.


Now the bell. The copper tube which gives the bell its correct height when screwed in also holds down the tension spring which allows the bell ringer to function.


Here it is in place.


Next we add the motor.


In doing so, we attach the motor catch in its correct position.


Then throw on the motor, making sure to...


lock it in place with its nut.


We now flip the carriage over and grab the paper bail and left side of the carriage.


Screw in the front of the left side, then place the right side of the paper bail in its screw slot on the right side, position it, then clamp the left side down and screw it in.


With the paper bail in place, we move on to adding the platen. To do so, we throw on the lever assembly.


Some machines have a thicker washer, some dont. This discrepancy is most likely due to prior repairs on each machine. I ended up putting the small washer shown between the side and the lever action, and threw a much thicker washer on the side the thin washer is currently on.


Make sure to attach the main return lever spring. You may also go ahead and slip the platen on slightly.


I quickly recovered my front feed roller, and plopped it in.


As you push the rod through the platen, rotate the platen while pushing it left, so that it catches the tension roller for variable spacing and sets the return lever action into its proper place. As the rod gets to the other end, place the paper bail release between the platen and the side, and push the rod on through.


Now, screw on the rods left side lock, and get the knob back on.


Wunderbar. Now we add the carriage escapement.


Slide it in its catch spot, and screw it in on both sides.


Its time to set the motor. If your line is broken, fishing line works wonders.


A finished under-carriage.


Lets throw the carriage plate on, and...


bam.


 Now we add the paper fingers. Unscrew this small screw from the inside of the carriage, and slip them on. Make sure to re-tighten it afterwards.


Were ready to get this machine back together. Grab the rest of the parts.


We start with this piece.


Take the two back main screws out, and lay the machine on top of the previously shown piece. Then, screw the back left screw all the way in, and the right screw only slightly.


Its time to add this large spring. It helps support the carriage when its not locked into position. Otherwise, it would come crashing down if you weren't careful.


With the spring in place, you should be able to push on the levers and have resistance, and upon releasing them, they should snap back up.


Now unscrew the front main screws, and throw on the smaller front carriage supports. 


We then attach the carriage to the front support arms. The screw at the top also holds the ribbon movement catch.


Screw the back supports in to finish attaching the carriage.


Now your getting somewhere!


These are the tiniest springs youll ever see. Ever. Be careful not to lose or stretch them. We add these to the ribbon advancement.


Now, screw on those ribbon cups, and lay the spool bottoms in them.


Throw your spool of ribbon on and screw in their holders, and tada. Mechanically, this machine is ready to go.


Throw the front plate on...


And the back plate....


And your machine is ready to go, save for any last minute tuning you may have to do.
With construction done, lets commence part two of this post;

A short comparison of models.


The early Model 1


The later Model 1


The Sterling (Model 3)


And, in spirit, the Model 2. Poor thing hasn't been the same since the war.


On the early models 1s, youll find this large spring helping the shifting function, rather than the two springs shown in the first section of this series of posts.


It also has a primitive ribbon advancement, which relies on a piece of springy metal.


You will notice its much larger backspace key.


and the location of its serial number. No. 2's have it on the right side on the back of the frame, and sterlings have it at the top of the back part of the frame.


Early model 1's also have the extra text on the front of the frame, rather than the front plate.


They also have a wood bar attached to the folding arm, to stop typebar movement when the carriage is folded down. later models lack it.


The space bar is not connected between its two levers. Also of note, the key levers have wedges in them to make them the right size. A sign that the machinery had not been adapted fully yet to portable production.


Carriage mechanism design is same as what has been shown in this series of posts. Also note that the typeguide has a small protruding piece which shows the exact printing point (not shown).


Here is the springs on the later no. 2 for comparison.


the smaller backspace key.


the new ribbon advancement system


same mechanics.


decal no longer on front bar...


but rather added onto the front plate.


Paper bail decal, sadly, no longer added. The decal, it will be noted, was actually the one used on the Fox desktops. I must assume that they were using what stock remained with no intention to continue labeling these machines on the paper bail (Despite the awesomeness).


Later no. 1 has spacebar levers connected. Also note the holes for the previously mentioned wood block...


Yet no wood block.


Also note the two spacebar stops, and rounded spacebar.


Versus one spacebar stop, and tapered wooden spacebar.

The sterling, identical to the Model 2 mechanically, is different from the model 1's


The sterling also has a new design for its spool nuts.


Model 1 and 2 used these larger ones.


Early model 1's didnt have the left locking piece.


That concludes this series of Fox Portable posts. I hope this someday helps  someone with their own Fox related efforts!


And now, for something entirely different.


My "Wanted" list has slowly grown shorter, and just the other day my No. 2 most wanted machine rolled on in. Its the adversary of the Fox, but golly is it a dang good typewriter. And most importantly....


This Coronas golden baby.