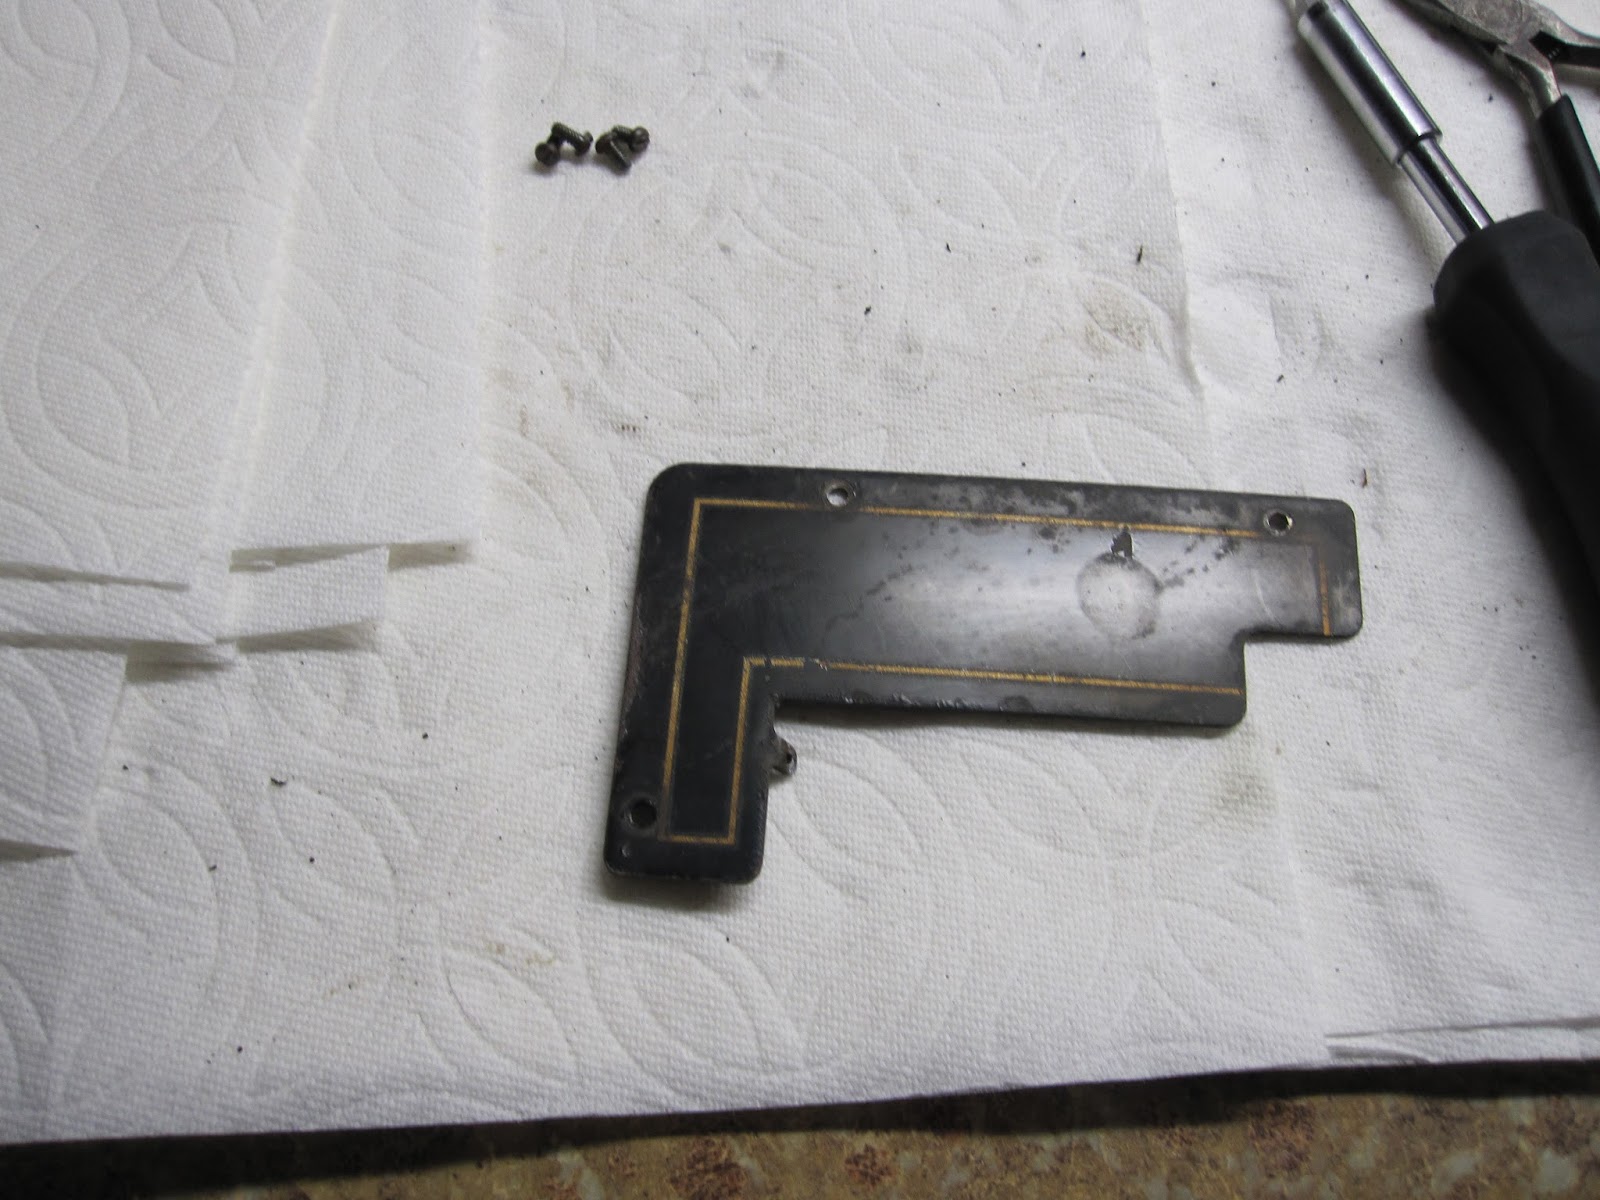
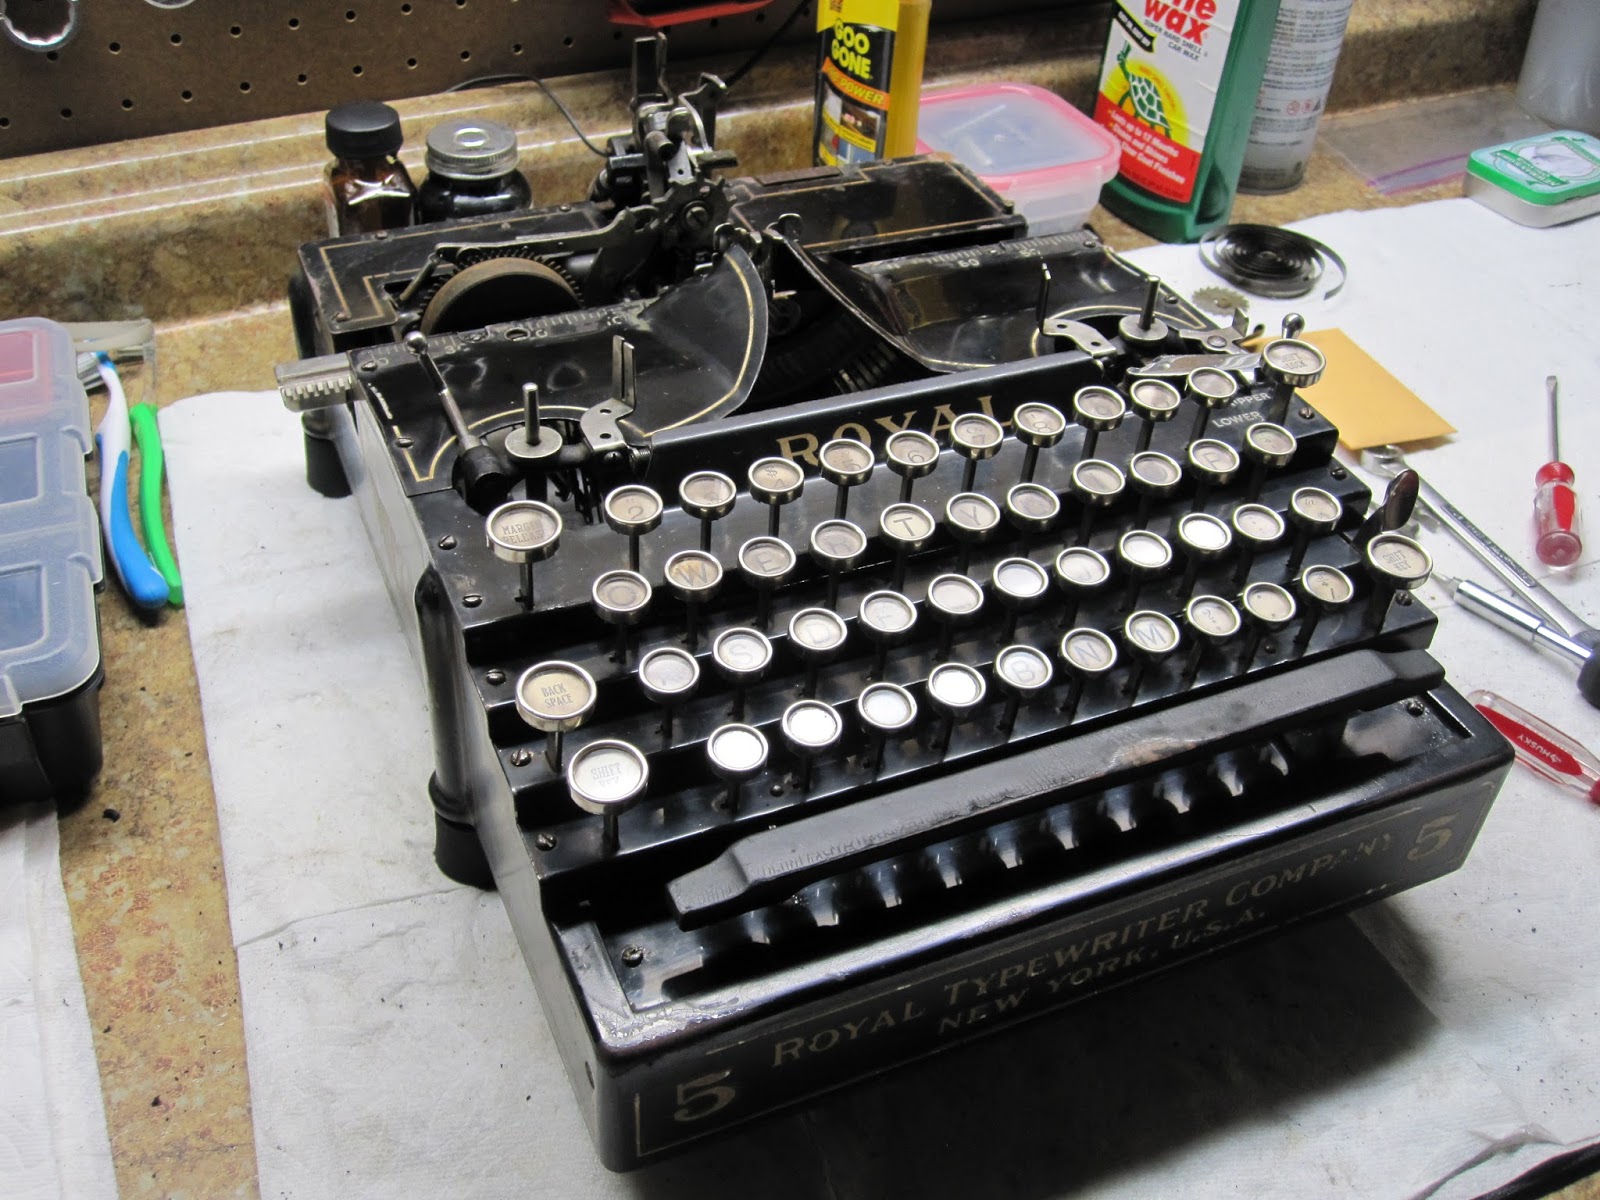
This carriage fought back. I did my best to disarm it prior to contending with it, but it snuck a rapier in with its parts somehow, and everything just went downhill from here. Regardless! Here is how to build a carriage for a Royal 5.
Start with the sides, connected via the bottom frame and two feed-roller rods/fingers
Start with the sides, connected via the bottom frame and two feed-roller rods/fingers

Add the secondary plate by sliding it into its respective slots, ensuring the arms for the back feed roller slip behind the rod already in place.

Bam

Then add the roller which puts pressure on the gear

Bam.
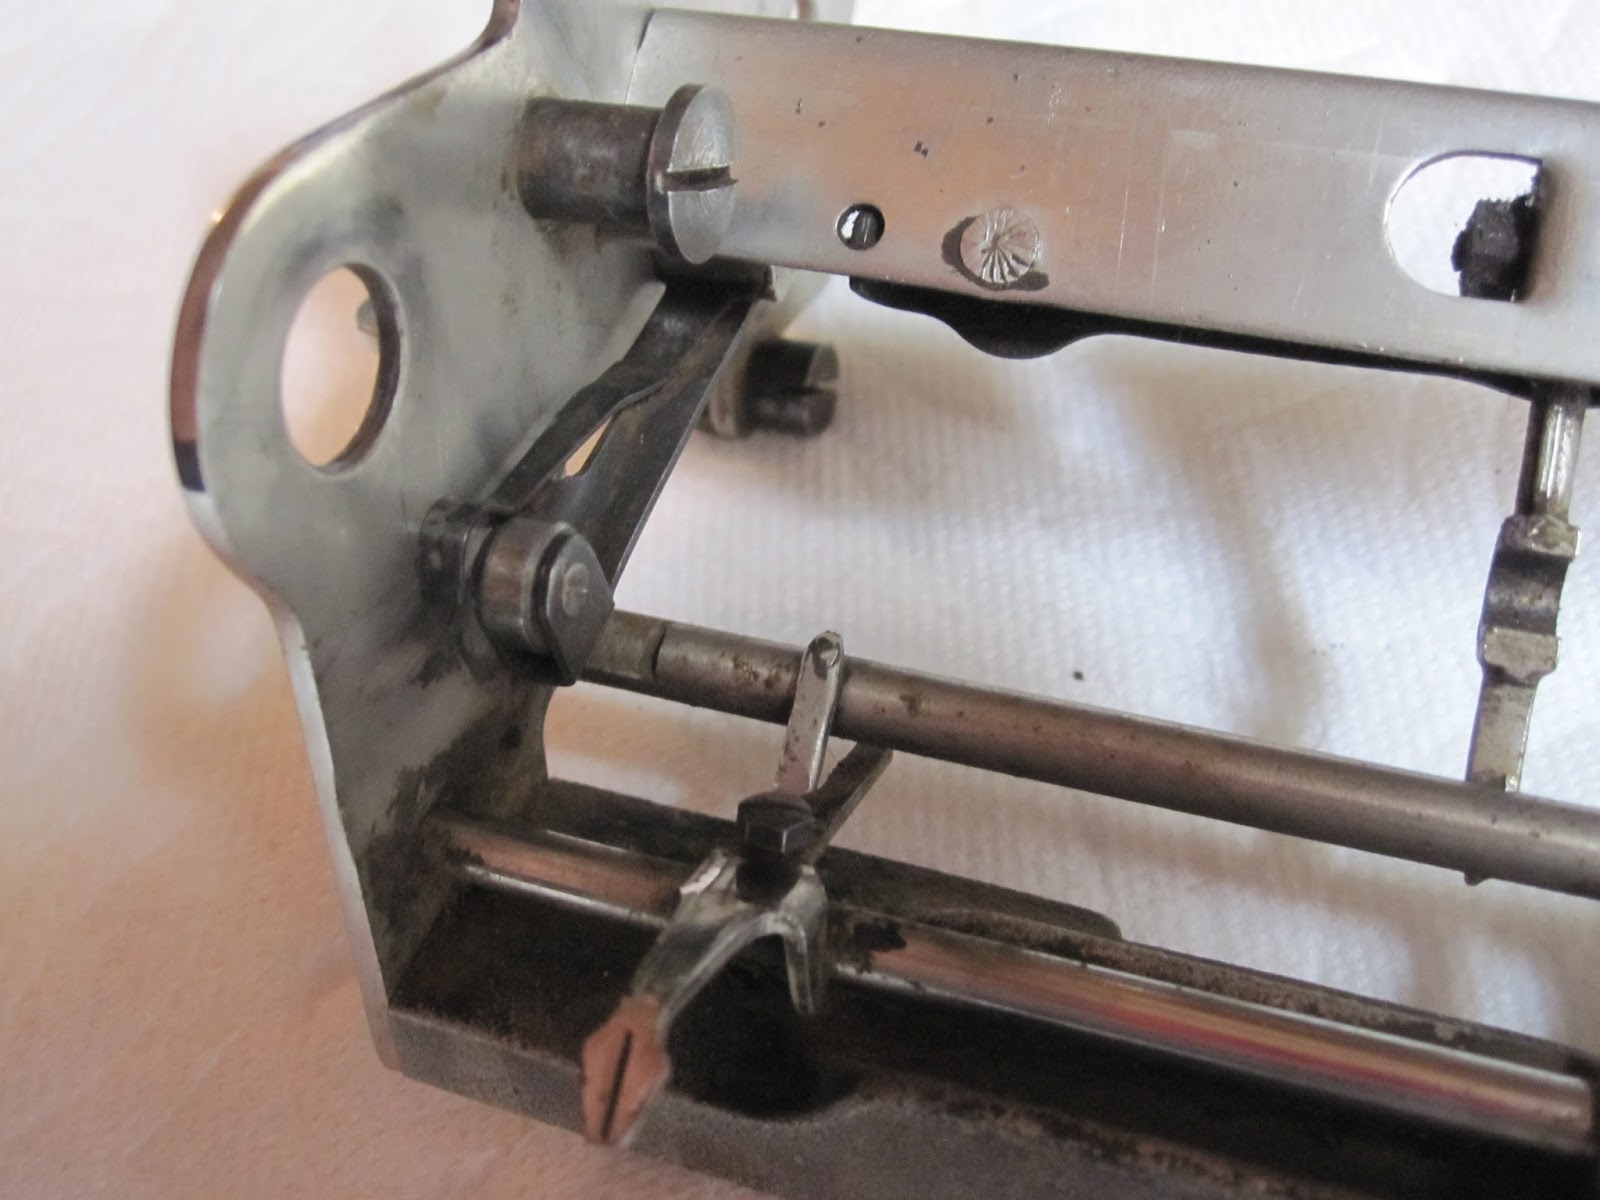

Now the main support rod. One of the cups screws in, the other does not. You


Next the back rods which hold the margin stops, and the tabulator stops. Not shown are two small hooks which go, one on each end, on the margin rail. They have a small spring which attaches to the escapement release lever.


Next the paper bail, which uses the screws that hold the margin stop rod in place


Then the escapement release

Slide it on inside the sides of the carriage. It is kept in place via screws attached to the springs which attach to the paper bail.

At this point, I prepare to put the carriage on the machine. I throw on the last part missing from the main machine, the front paper guide.
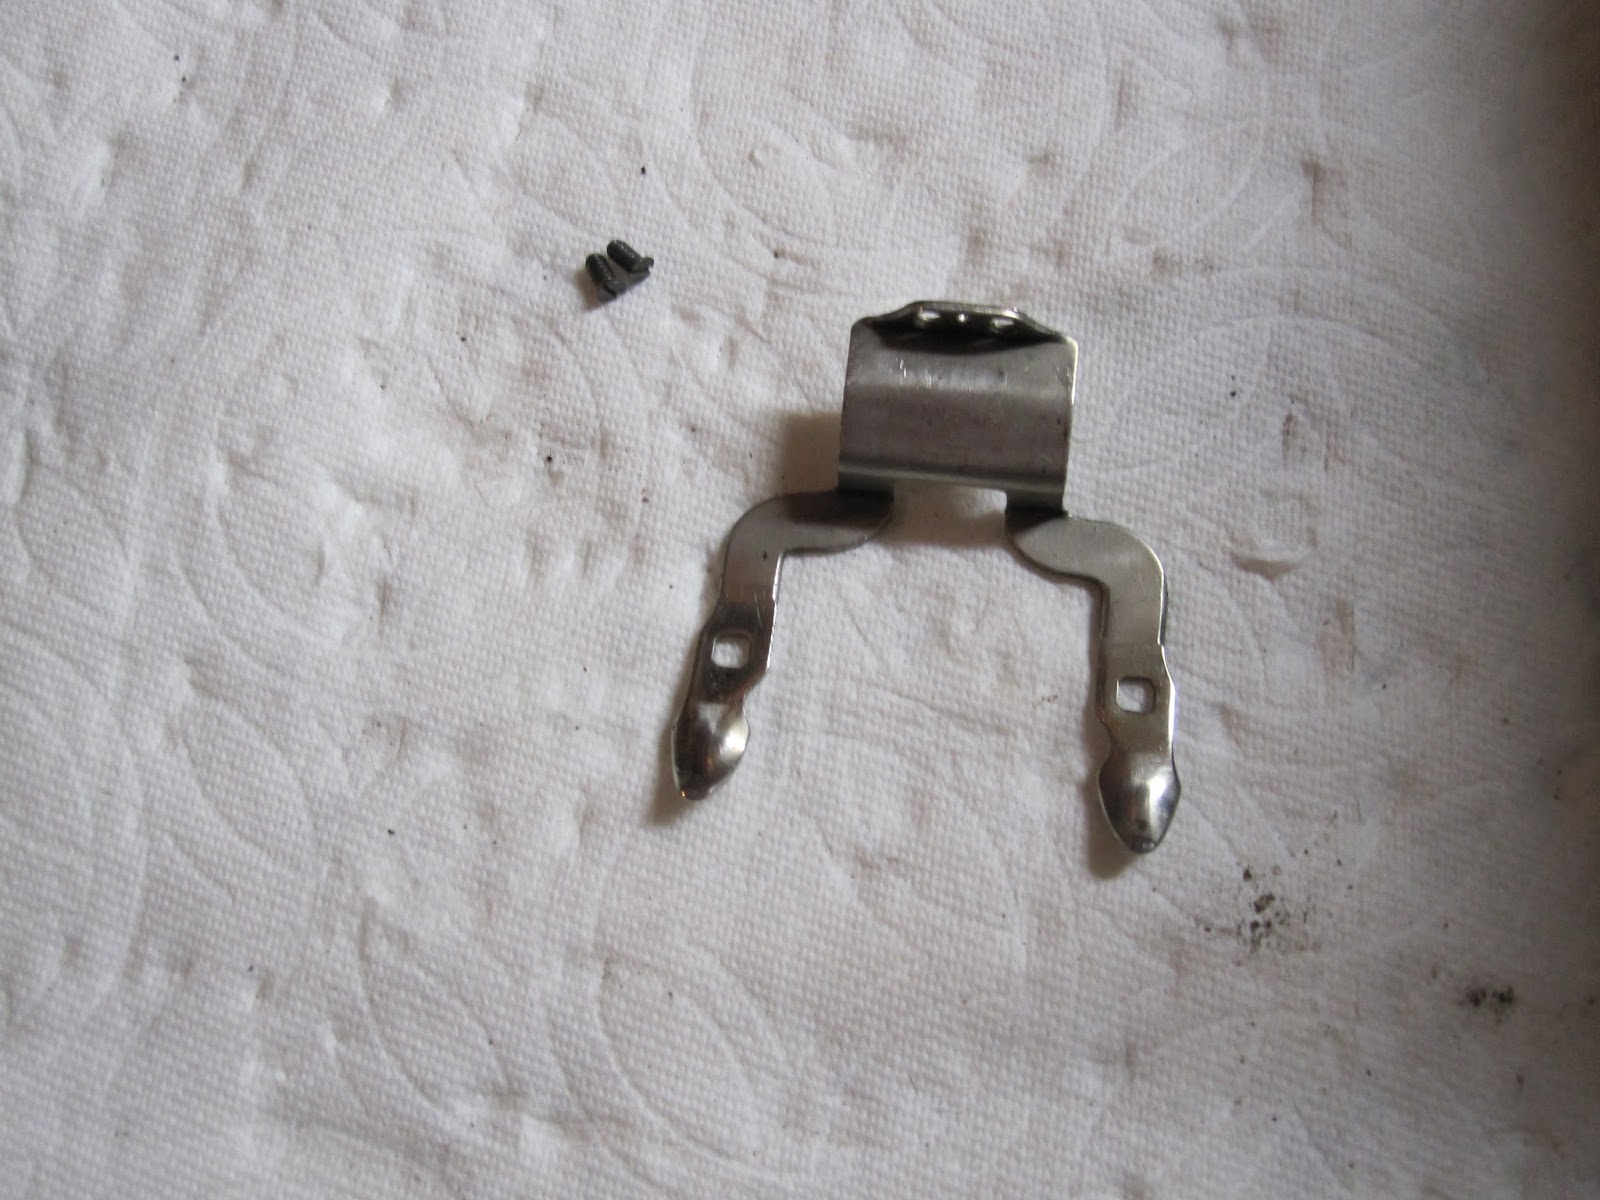

And utilizing the two ball bearings in their respective gears, alongside the proper rail guides (5 in total, one of mine was broken). Place the ball bearings half way on their respective sides, and set the carriage assembly down centered onto the rail. It may take a bit of fudging around, but it should be smoothly moving if you put pressure on the main rail as you make it go left or right with the escapement release pulled. Once that is the case, attach the carriage guides to permanently keep the carriage on the machine.


Next is the paper release lever.

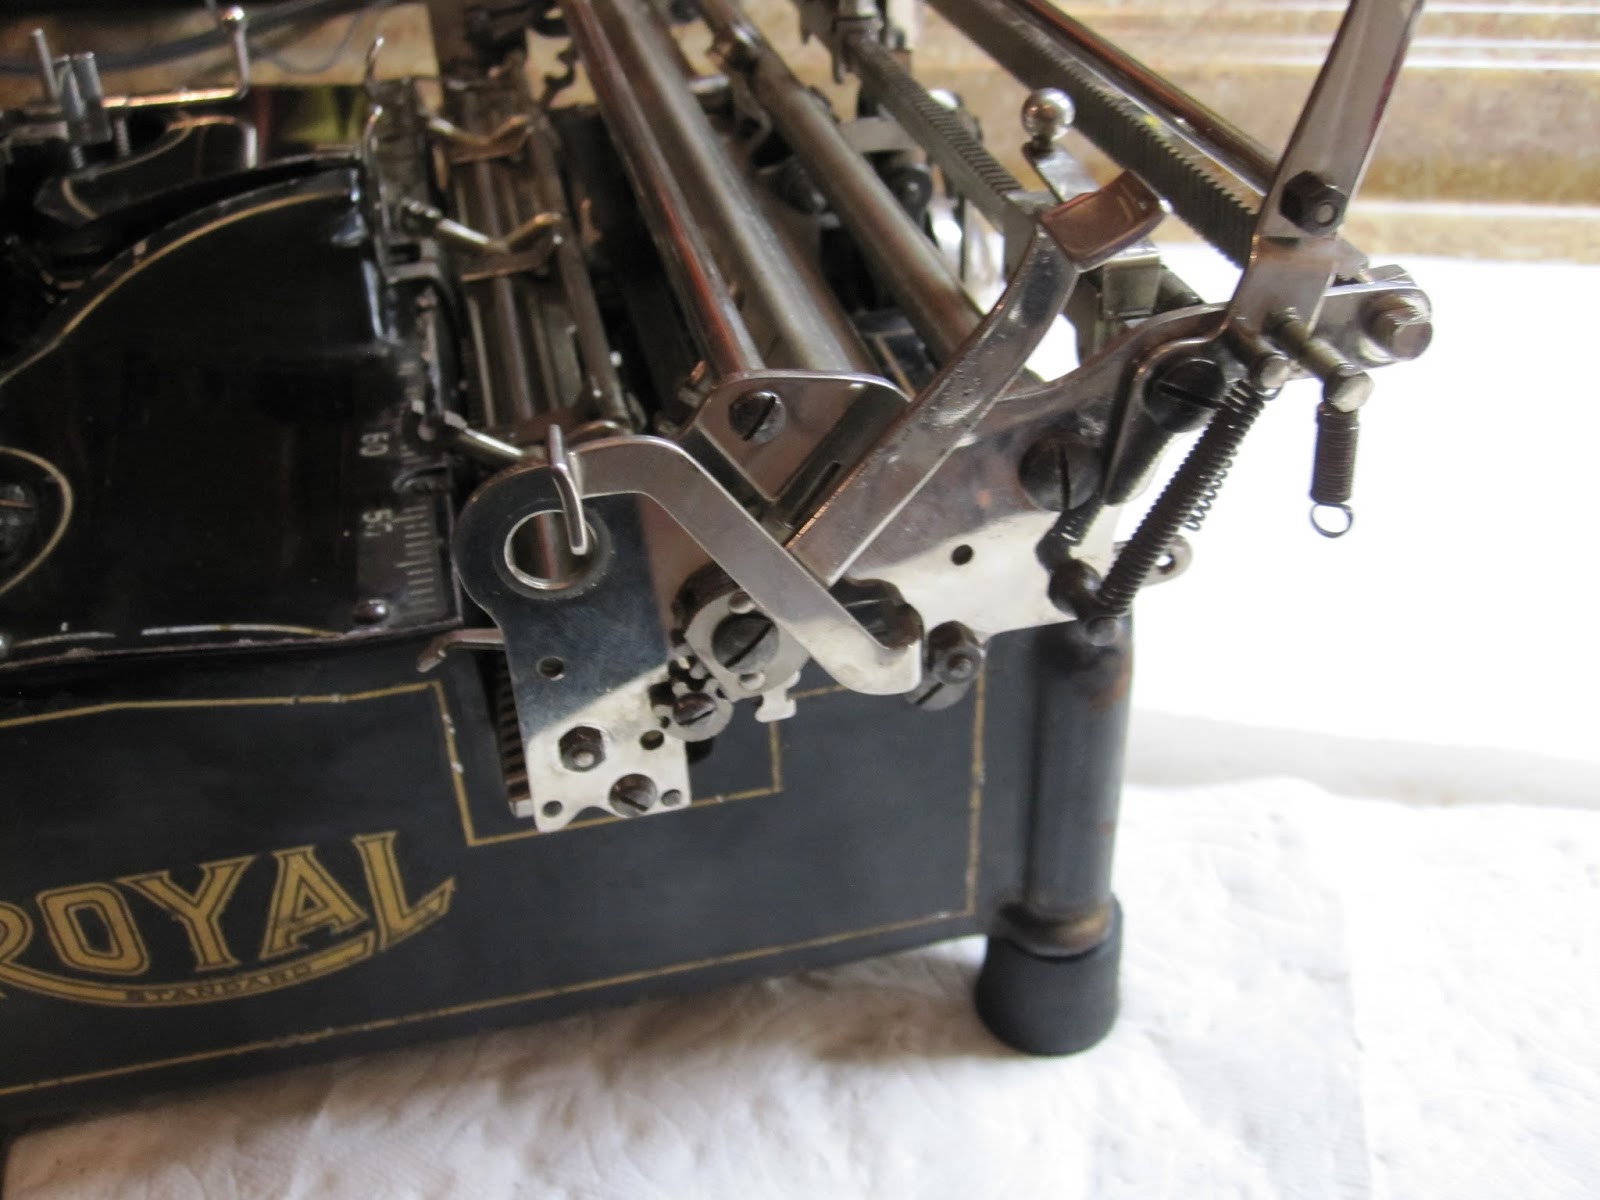
And the linespacer gearing combo (Shown in order of left to right assembly order)


Now the return lever. Spring goes into the drum (not shown), hooking onto the bottom-most plate near it. A small screw on said drum locks the return lever to the drum. Rotate drum before tightening to change tension on return lever. Screw twisted end of return lever onto the spacing hook.


Now the paper plate.
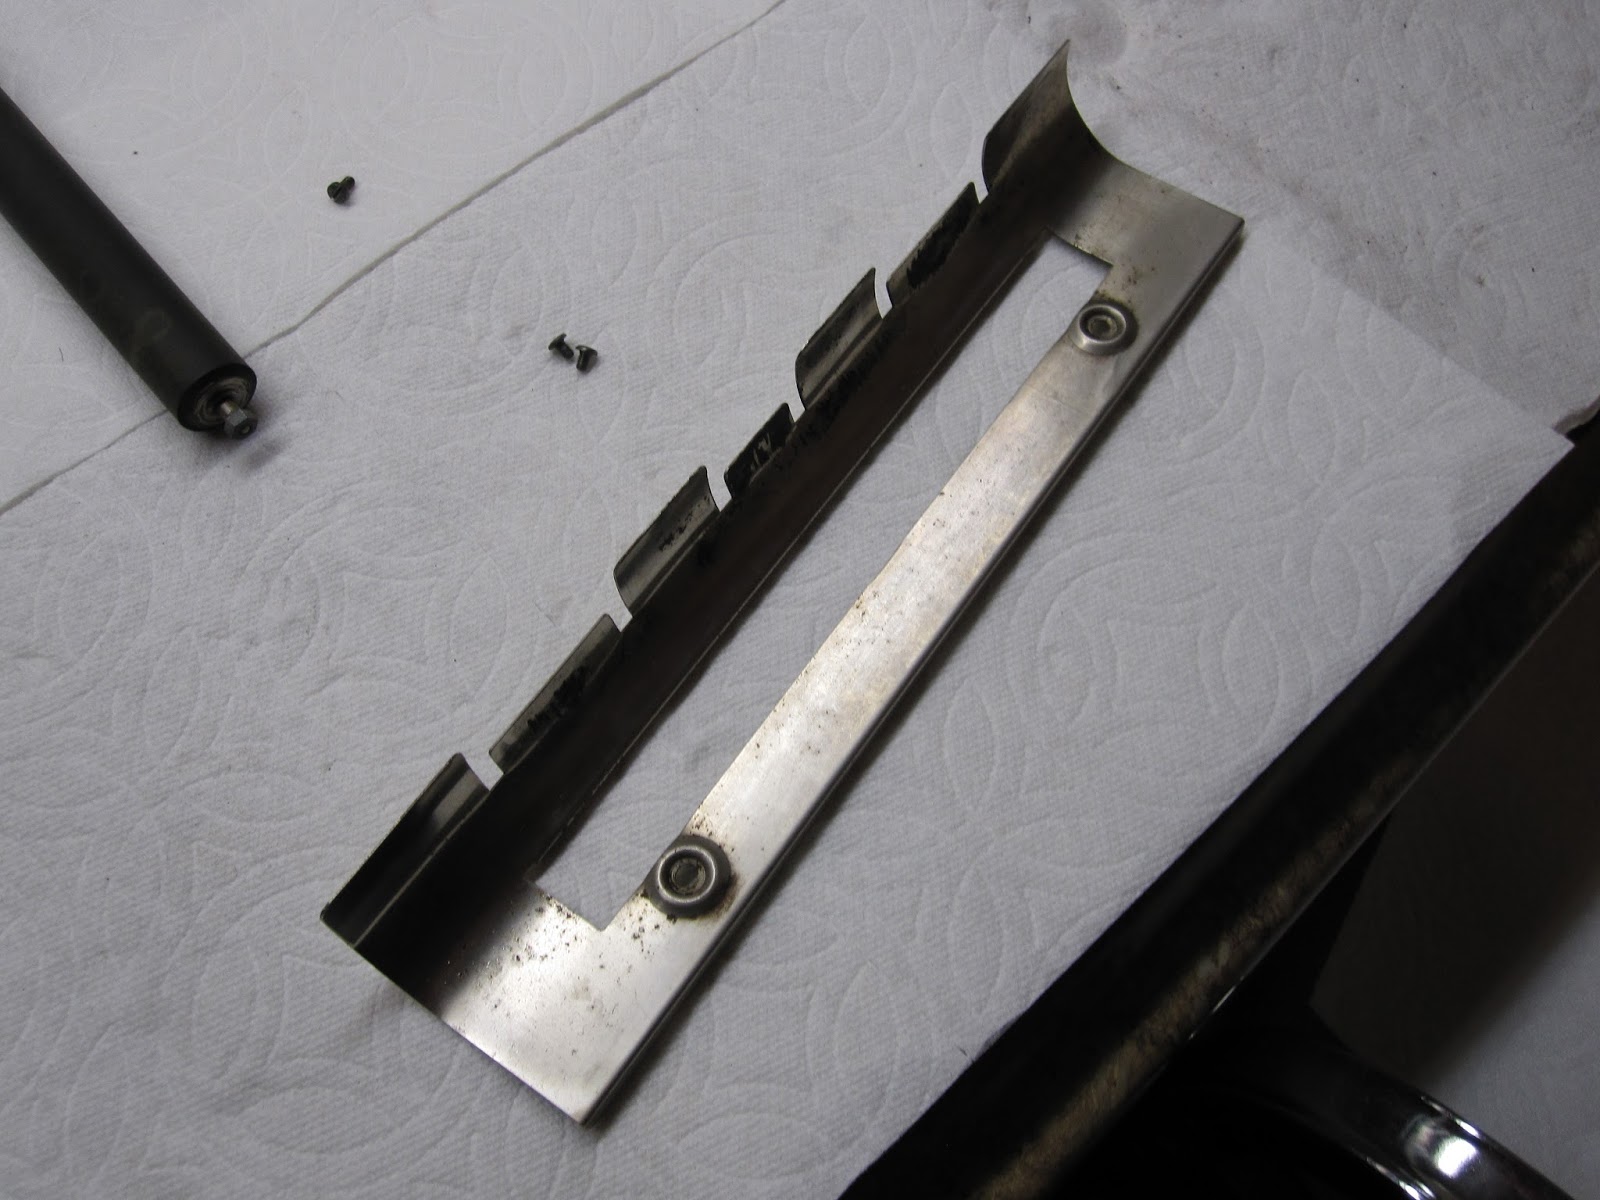

And then the main paper bail plate.

And tada! Your machine should basically be done. Here are some before/after pictures of this machine in particular, however. Since for once I have before pictures.


And after. I accidentally made the main logo a bit more silvery than it had been:


I brought this machine from a state of disrepair in which nothing worked at all (even the typebars refused to budge) to something which can kinda sorta type. Missing one of the rail guides makes a large and negative difference, and so I can only properly type on the first 66% of the platen before it starts wigging out on me.
Another machine no longer biting the dust.