This post may contain graphically disassembled typewriters. Viewer Discretion is advised.
When dealing with the Royal 5, it will be found to be of the simplest, yet most robust, design. To begin this series, we take a look at the reconstruction of the escapement assembly;
Shown below is the most base escapement frame, with only the main wheel, the dog tuning screw, and one small spring still attached.


The first addition we make is this small roller lever (Which places tension on the color selector once installed), which goes on the right side of the frame. The roller should face up, and should return to its rest position after even the slightest movement. For the purpose of this series, the right side correlates as if the parts were in a fully intact machine.


Next we add the escapement dog pivot. It is very similar to the Underwood 5's. Shown first is the back of the part, then the front. There are two screws which hold this part in, one on each side of the frame. Ensure that it pivots with no friction, but does not have much if any play left or right.

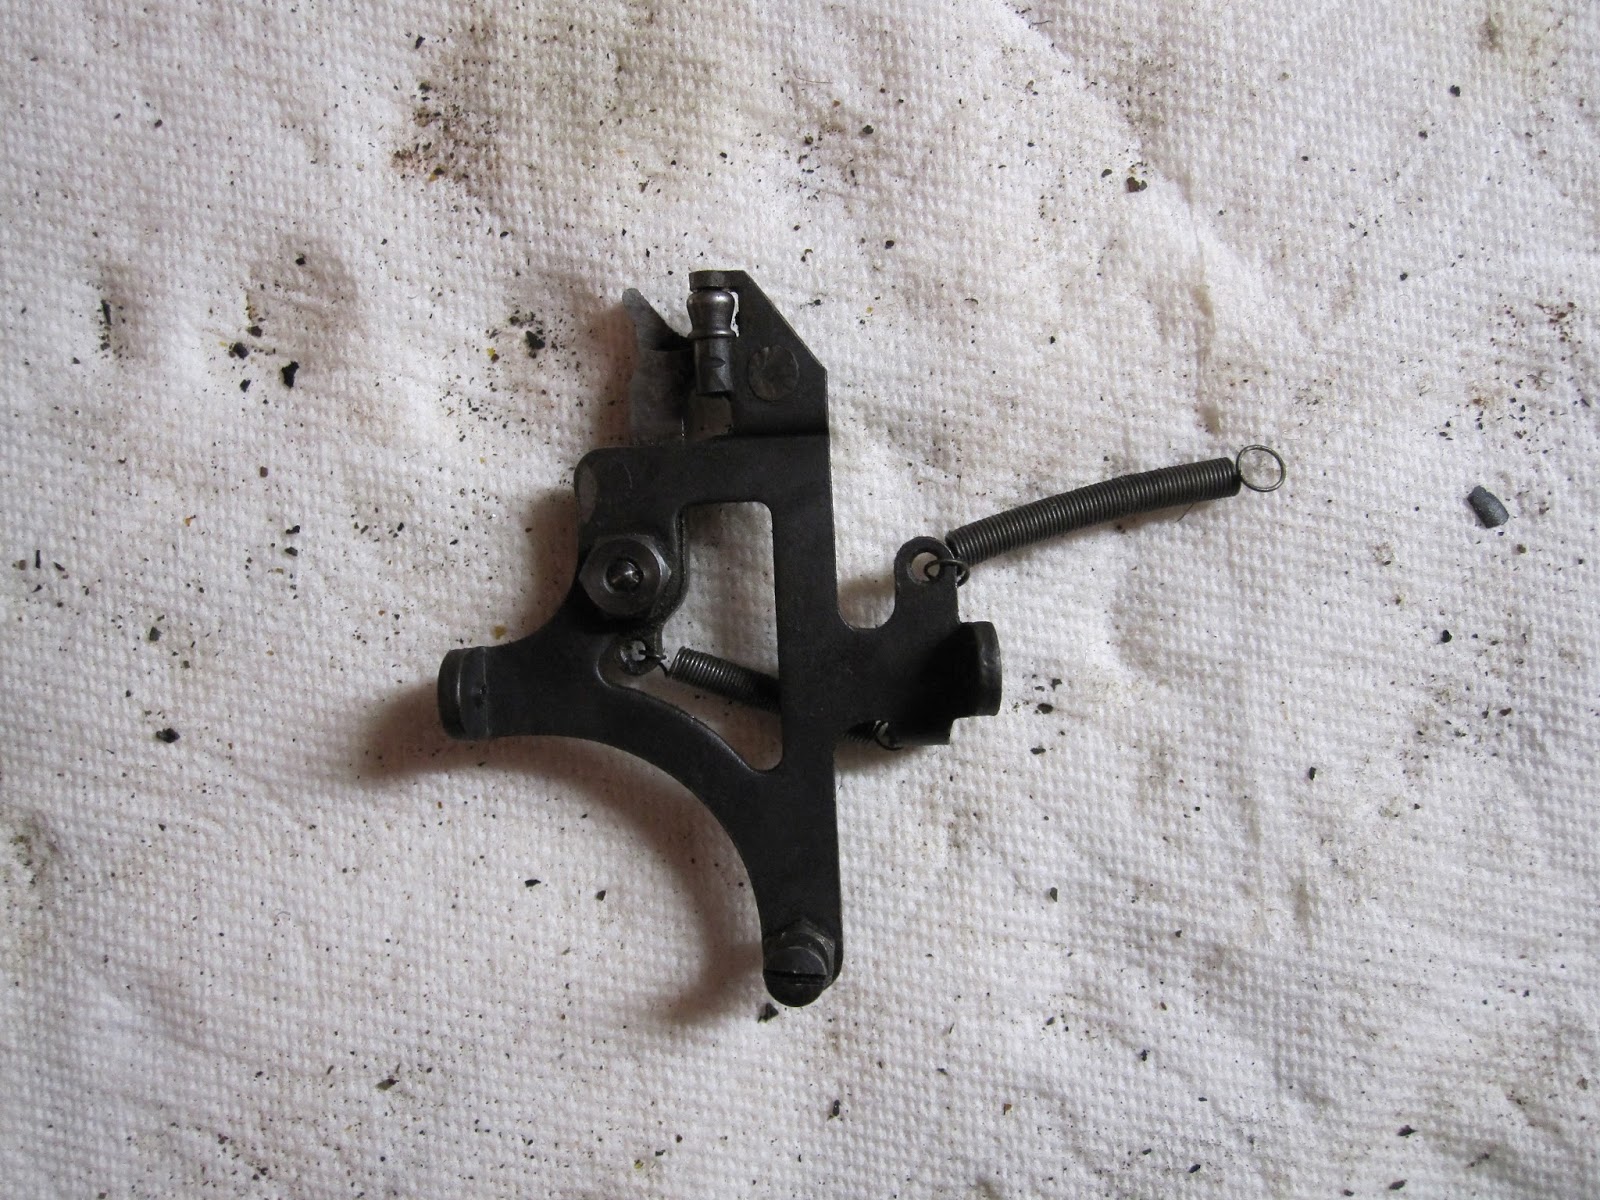
Note how it sits behind the previously mentioned tuning screw.

Next we add a small hanger and roller to the back of the frame.

The hanger will eventually hold another roller.

The roller shown slides in the back, and a small screw is used on the left side of the frame to secure it in place.

Next we contend with the ribbon vibrator. Shown here is the RV base, and RV arms.

We first set the tuning washer onto its place. It should look relatively like so, with the protrusion on the facing towards the part.

The RV arm screws in to the spot in the middle of the previous part, with the ribbon holder on the side without the spring. With the spring attached, there should be no slack when pushing the arms.


With these two sub-assemblies done, we can get them onto the main rail.

Flipped onto its back, you will notice the 4 holes in the center of the rail. Two are pin slots for the escapement assembly, which you will place first. Once in position, you will place the RV assembly, and screw in the two large screws, ensuring they are tight.


We now add the escapement pivot tension adjuster. This regulates the spring power at play on the lower half of the pivot.

It is designed to "Ride" the part of the rail it is on.

Next is the RV selector switchrod. You will need to remove all the parts from it, making sure you place the side with the greater number of divots for screws to the left side of the machine.

Sliding the rod in, add the parts back on and when all is in position, retighten their screws in their spots. Make sure the 4 pronged part rests correctly on the roller that we installed at the very beginning.


Now we add this thing. Even when the machine was fully together, I couldn't figure out its proper purpose.

It screws in on the left of the escapement frame. Make sure the jut with the opening it towards the gear.

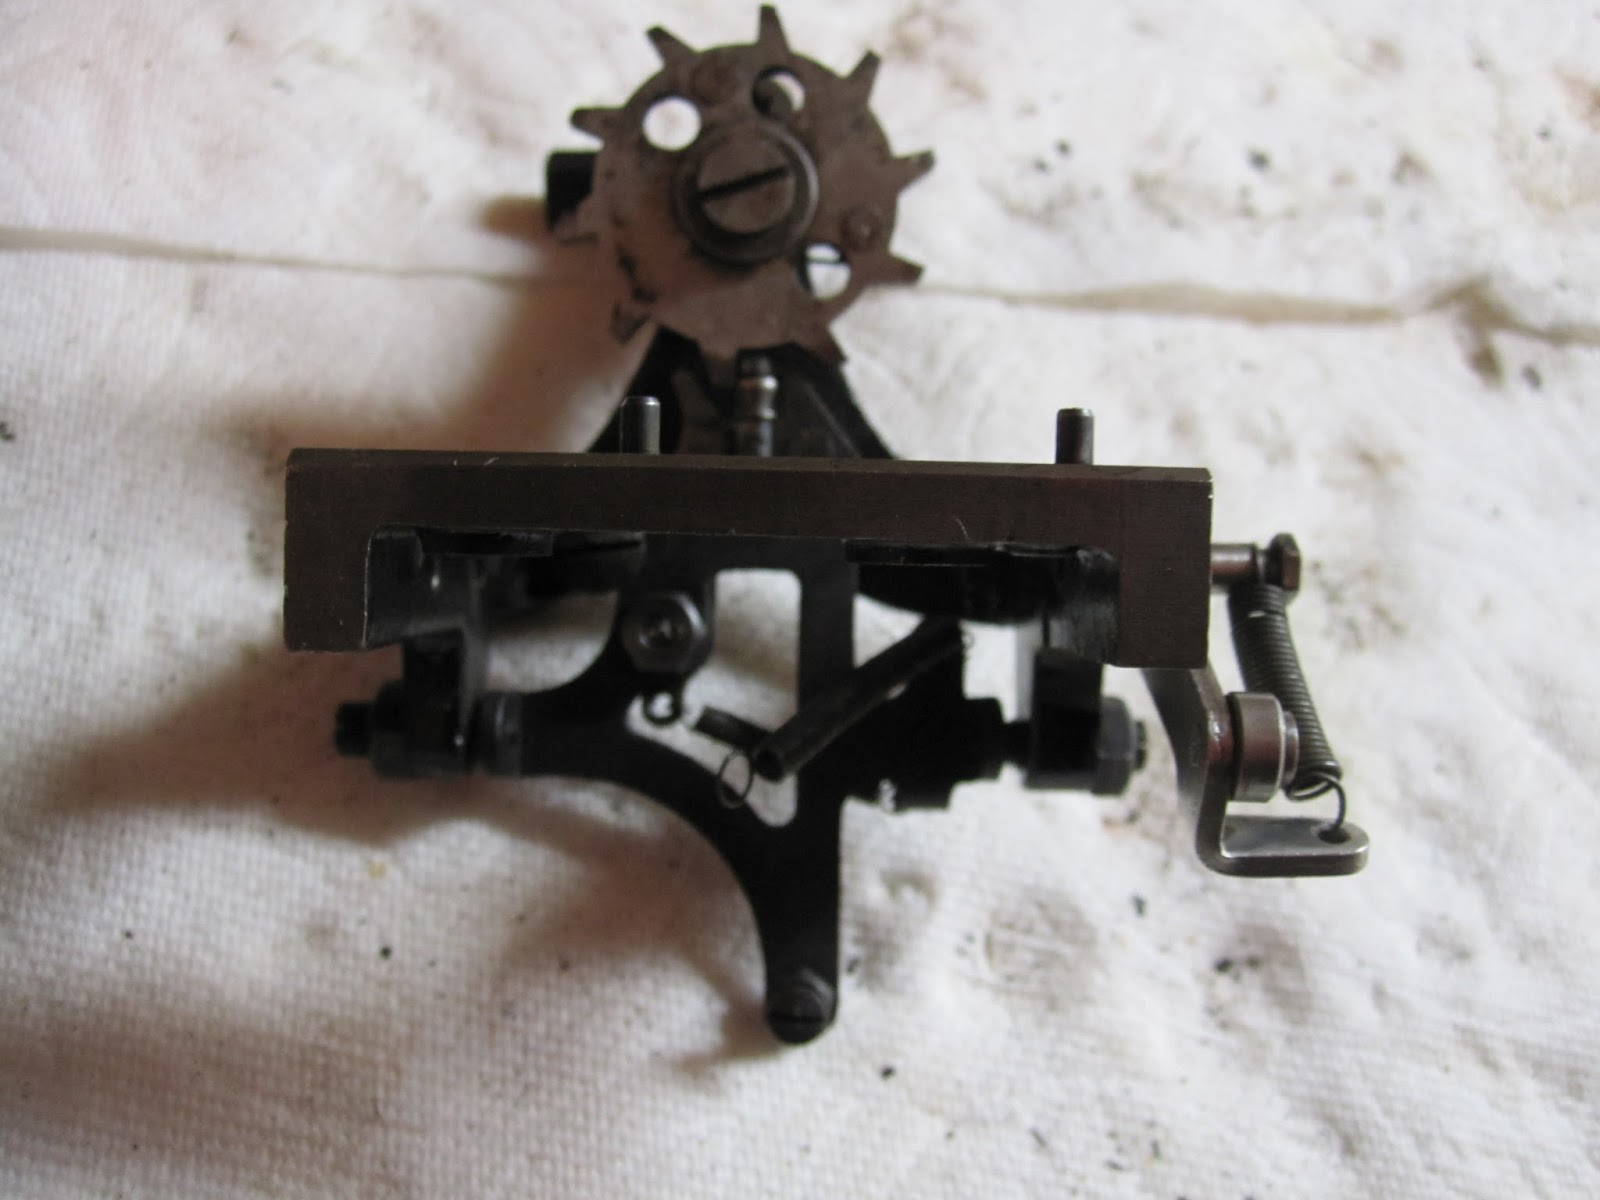
We now have a completed Escapement assembly.


Next: Assembling the back half of the Royal 5
No comments:
Post a Comment