Tuesday, February 23, 2016

Let's Build A Royal 5: Assembling the main systems (Part 1)

Warning: This post contains a severe lack of pizza related topics. Reader discretion is advised.


With the escapement assembly completed, we begin on the main systems.

First, we grab the frame. Only the motor is attached currently, along with the hooks which anchor the shifting springs.

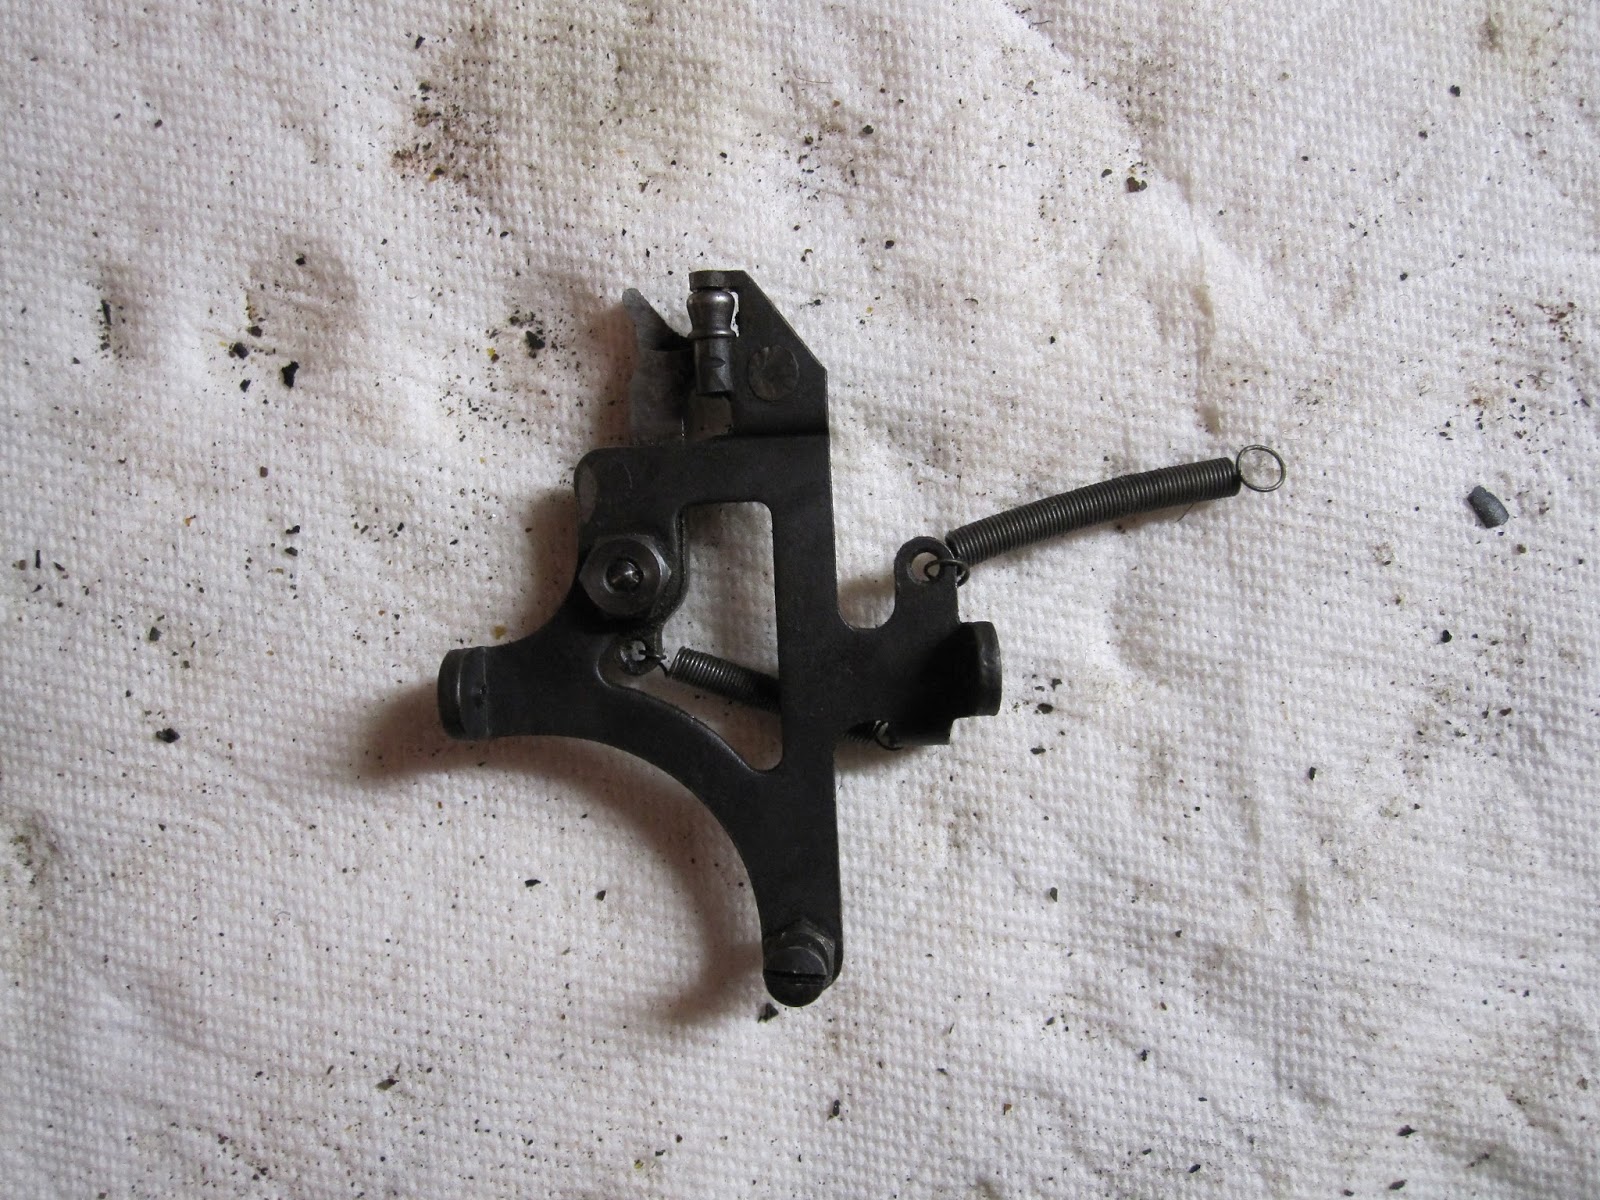
We now take the motor rod anchor, the small circle, and the most awkward collection of riveted parts I have ever seen, along with the small part shown just below them, and get them installed.


Here we have the back of the machine, and the end of the motor rod exposed. Notice the small hole on the part on the rod.

That is where the small circular part goes, and screws in. The smaller circle will just out beyond the edge of the large one just a small bit.


Then you add the small deflated balloon part.


Then the super awkward part. Note which way it goes on.


Then you add the motor rod anchor. Youll need to swing it into the frame area slightly to get it to run onto the rod right.


It screws into the back here.


Now we screw in the awkward part. You'll need to get creative to swing it into position.


It screws in here as well.


Now well go ahead and throw on the margin/margin release, and the motor tension adjuster.


The tension adjuster falls right into place. Then you add the small, longer screw.


The margin base has two pivots to stick onto, keeping it perfectly in position at all times.


You now throw on the tension plate for the margin release, screwing it in with the one small screw and the large hex screw which will later on also hold the bell.


Next youll add the carriage swing arms. You should probably throw these on earlier, as you will have to unscrew the awkward part again to get the left side in, but even still it will only take a second of your time.


Next we add the carriage locking arm. It goes on the left hand side of the machine.


Add the linkage for the margin stop.


Now we throw in the main shifting rod-a-ma-jig.


It has ball bearings, 9 on each side.


What you will want to do is screw one side it tightly while keeping the other end aligned to the hole. When done tightening, the rod should be caught in place, and allow you to place the 9 ball bearings. Using a non-magnetized philips works best for getting the bearings in their proper positions. Once in place, screw in that sides screw tightly, then flip the machine into normal position. Turning both screws slowly at the same time, making sure more to keep the ball bearings on the side you just did in place, get the other side jammed up to its spot. Take that screw out, insert bearings as before, then replace screw. Turning both again, get the thing centered with no play, but still with freedom to swing.


 Next: Assembling the main systems (Part 2)


Saturday, February 20, 2016

Let's Build A Royal 5: The Escapement Assembly

This post may contain graphically disassembled typewriters. Viewer Discretion is advised.


When dealing with the Royal 5, it will be found to be of the simplest, yet most robust, design. To begin this series, we take a look at the reconstruction of the escapement assembly;

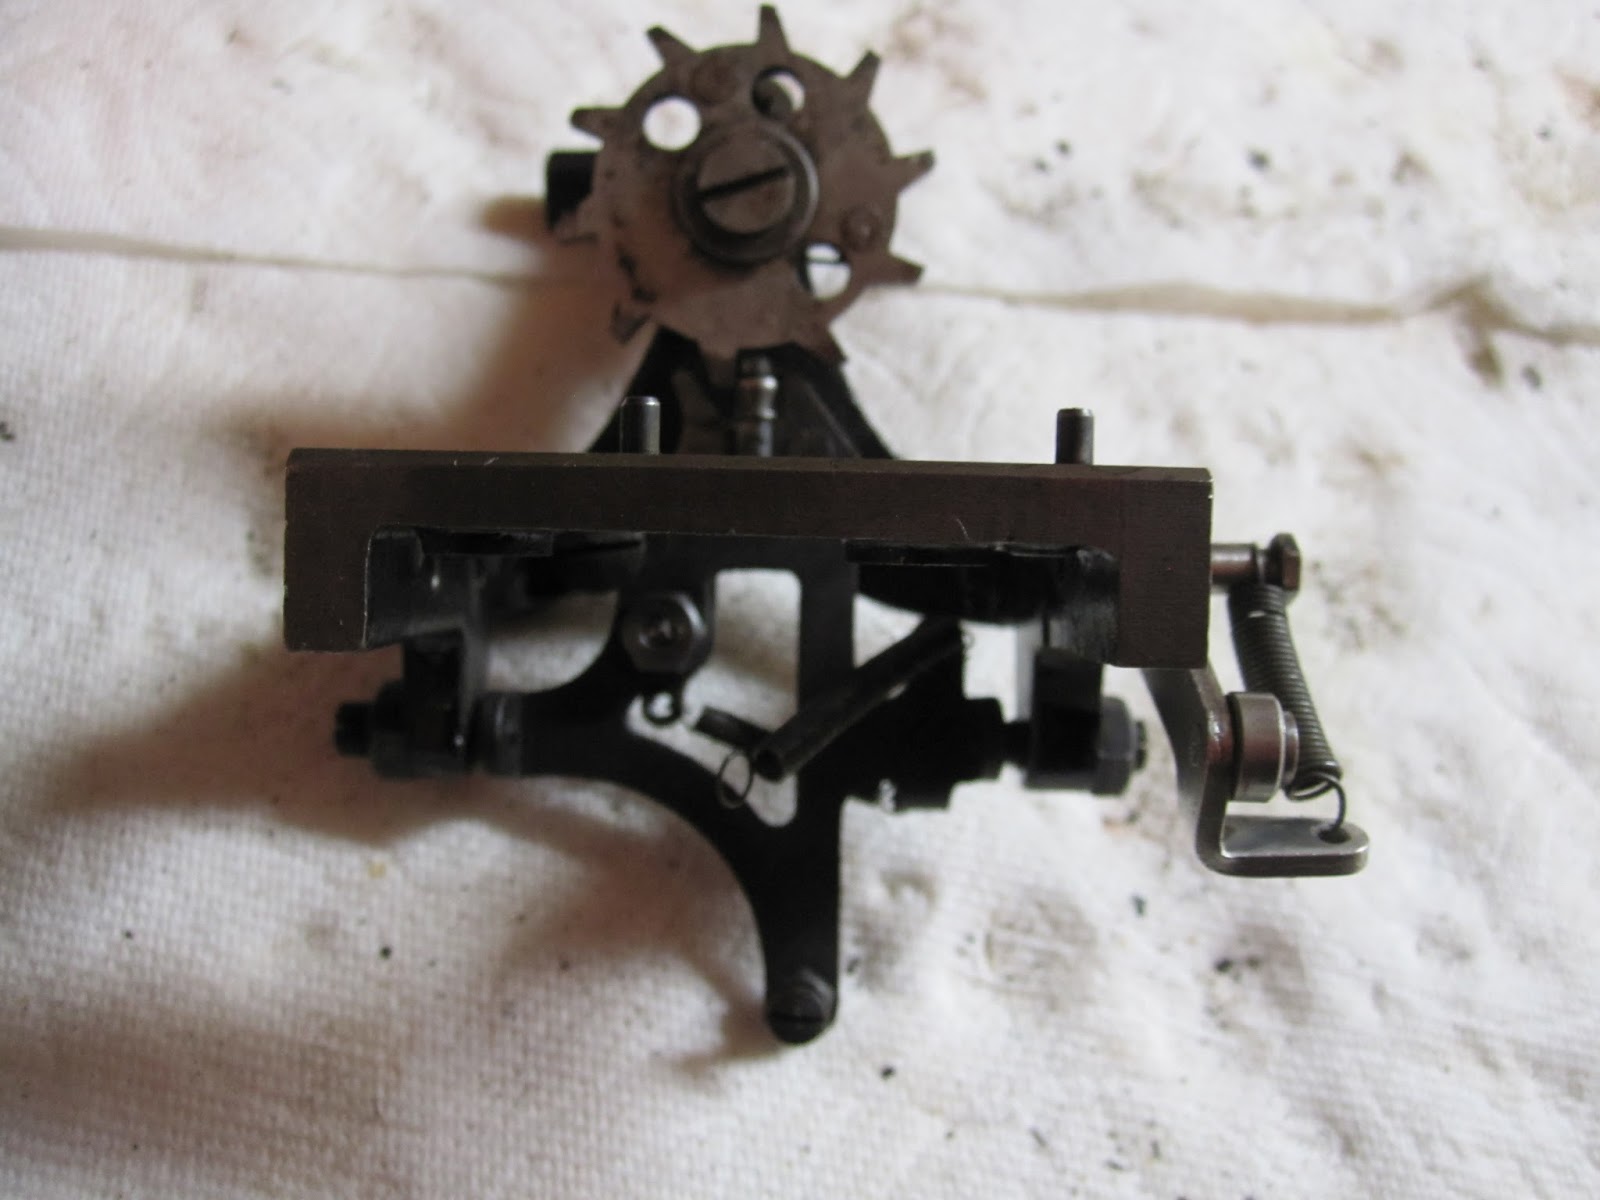
Shown below is the most base escapement frame, with only the main wheel, the dog tuning screw, and one small spring still attached.


The first addition we make is this small roller lever (Which places tension on the color selector once installed), which goes on the right side of the frame. The roller should face up, and should return to its rest position after even the slightest movement. For the purpose of this series, the right side correlates as if the parts were in a fully intact machine.


Next we add the escapement dog pivot. It is very similar to the Underwood 5's. Shown first is the back of the part, then the front. There are two screws which hold this part in, one on each side of the frame. Ensure that it pivots with no friction, but does not have much if any play left or right.


Note how it sits behind the previously mentioned tuning screw.


Next we add a small hanger and roller to the back of the frame.


The hanger will eventually hold another roller.


The roller shown slides in the back, and a small screw is used on the left side of the frame to secure it in place.


Next we contend with the ribbon vibrator. Shown here is the RV base, and RV arms.


We first set the tuning washer onto its place. It should look relatively like so, with the protrusion on the facing towards the part.


The RV arm screws in to the spot in the middle of the previous part, with the ribbon holder on the side without the spring. With the spring attached, there should be no slack when pushing the arms.


With these two sub-assemblies done, we can get them onto the main rail.


Flipped onto its back, you will notice the 4 holes in the center of the rail. Two are pin slots for the escapement assembly, which you will place first. Once in position, you will place the RV assembly, and screw in the two large screws, ensuring they are tight.


We now add the escapement pivot tension adjuster. This regulates the spring power at play on the lower half of the pivot.


It is designed to "Ride" the part of the rail it is on.


Next is the RV selector switchrod. You will need to remove all the parts from it, making sure you  place the side with the greater number of divots for screws to the left side of the machine.


Sliding the rod in, add the parts back on and when all is in position, retighten their screws in their spots. Make sure the 4 pronged part rests correctly on the roller that we installed at the very beginning.


Now we add this thing. Even when the machine was fully together, I couldn't figure out its proper purpose.


It screws in on the left of the escapement frame. Make sure the jut with the opening it towards the gear.


We now have a completed Escapement assembly.


Next: Assembling the back half of the Royal 5

Friday, February 12, 2016

A Royal one day, not quite a Royal the next

First off: Mary, it turns out the only wood in a Royal 5 is the space-bar.

So just a couple of days ago I introduced you to my new Royal 5 typewriter. Since then, I realized it was pretty severely rusted in multiple places, and overall an incredibly dirty machine.

Honestly, it reminded me of my Underwood 5 when I first got it. I suppose there's just something about model "5"s for me that means they cant be ready to go right off the bat. Oh well.

Overall, the Royal 5 turned out to be a very well designed, simple, yet very functional typewriter. It has all the amenities of larger, full priced desktops of the time, yet has its own unique twist to it all.

And I came to realize that, like, half the bloody machine is in the carriage. The bloody thing was a third the entire mass of the machine.

Anyway, here is the Royal 5 now that I'm knee deep in old grime and grease.


The only thing I could not get off was the spring drum.


I've never seen any other type of keylever than the generall "L" shape, so its cool to find a machine with an "l" shape instead. The Royal flatbeds use pivoting action between two linkages on the keylever to get the typebar to swing up.


A few seconds of steel wool scrubbing made an immediate difference.


If its any indication of my overzealous desire to see how machines function on a detailed level, I currently have:

A dissassembled Corona 3
A dissassembled Fox 24
A dissassembled Fox portable
A dissassembled Royal 5

Woops.